
Accessing Utility Data in Console
There are two ways you can interact with the Utility Cloud product: via the API or via Console. This guide will walk you through the two main steps of accessing utility data via Console:
- Connect an account from a utility provider.
- Download utility data.
Step 1: connect an account
Credentials can be linked in the system in two different ways. The first way is through Connect, a lightweight web tool that is designed to just take in credentials in order to create provider connections. The second way is through Console, an administrative dashboard that allows you to perform actions like accessing your data and configuring your organization's settings.
Connect
Connect is a hosted web form that handles provider search, form validation and submission of data requests on behalf of your customers. You can customize many of Connect's features -- including links to your Terms of Use & Privacy Policy as well as the parameters of incoming data requests in the Console.
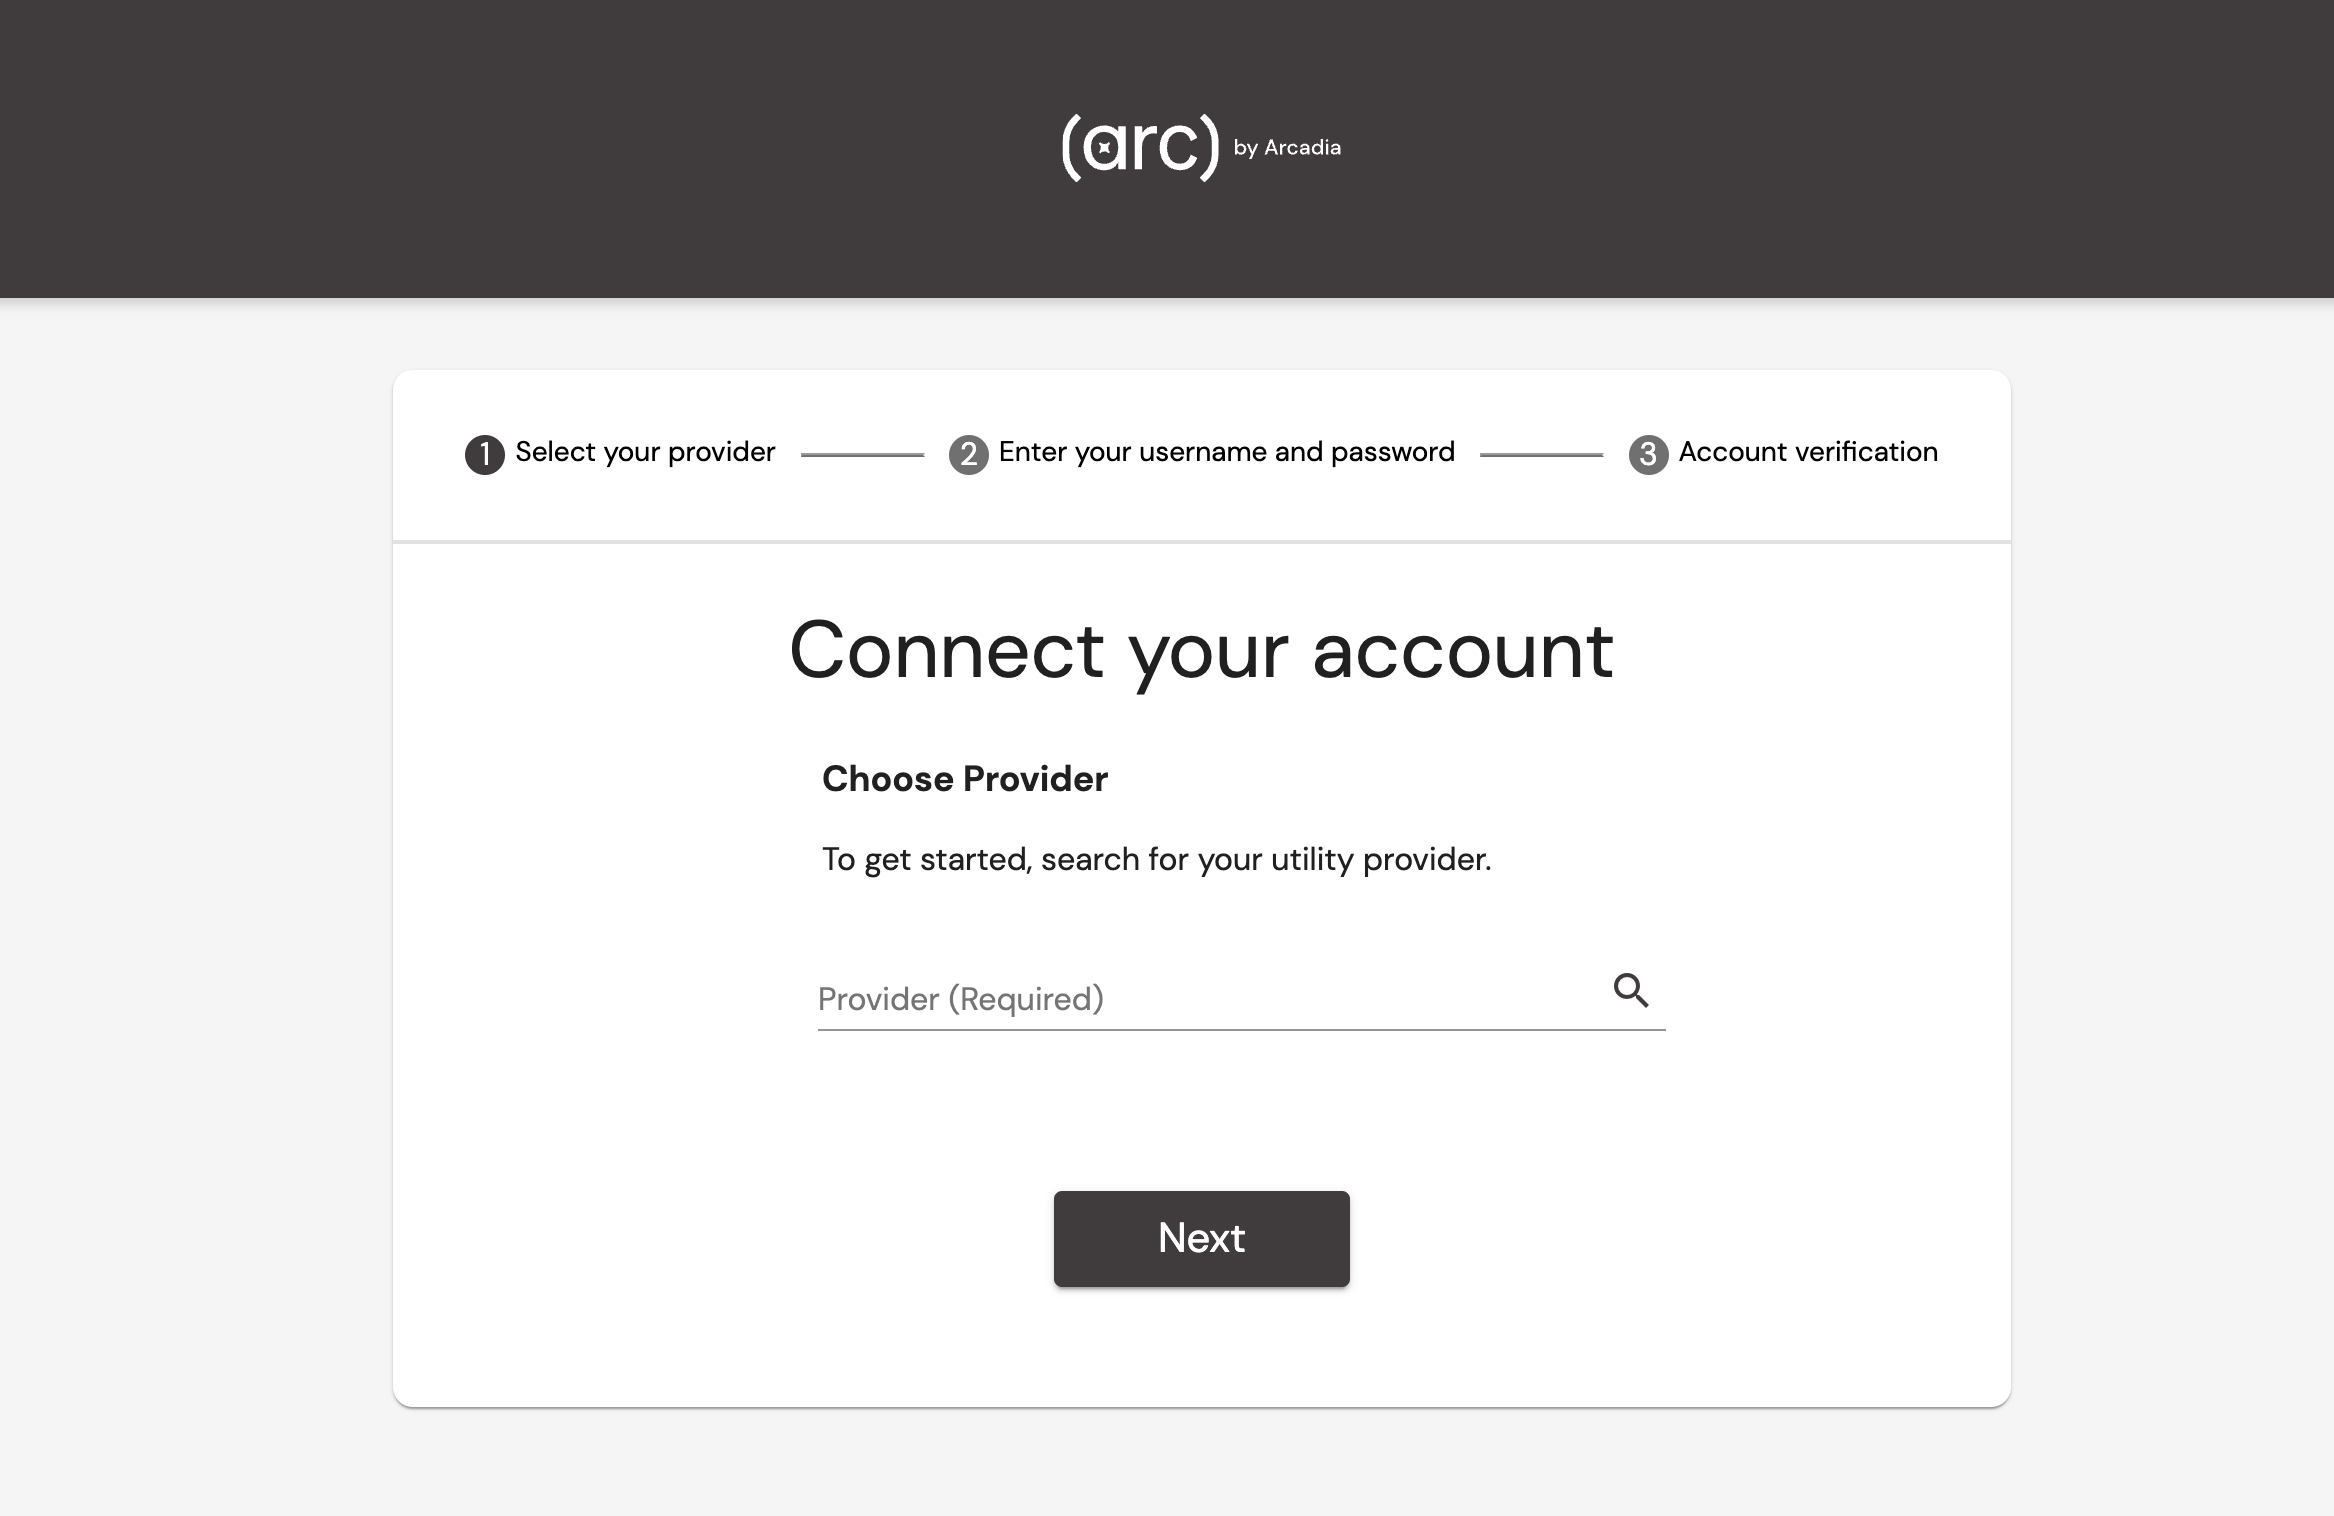
To get started, embed the Connect URL into an email or web page. For an internal test, connect one of your personal utility accounts, or send the link directly to coworkers. Connecting an account requires a user to select their utility provider and enter their username & password.
Select a utility provider
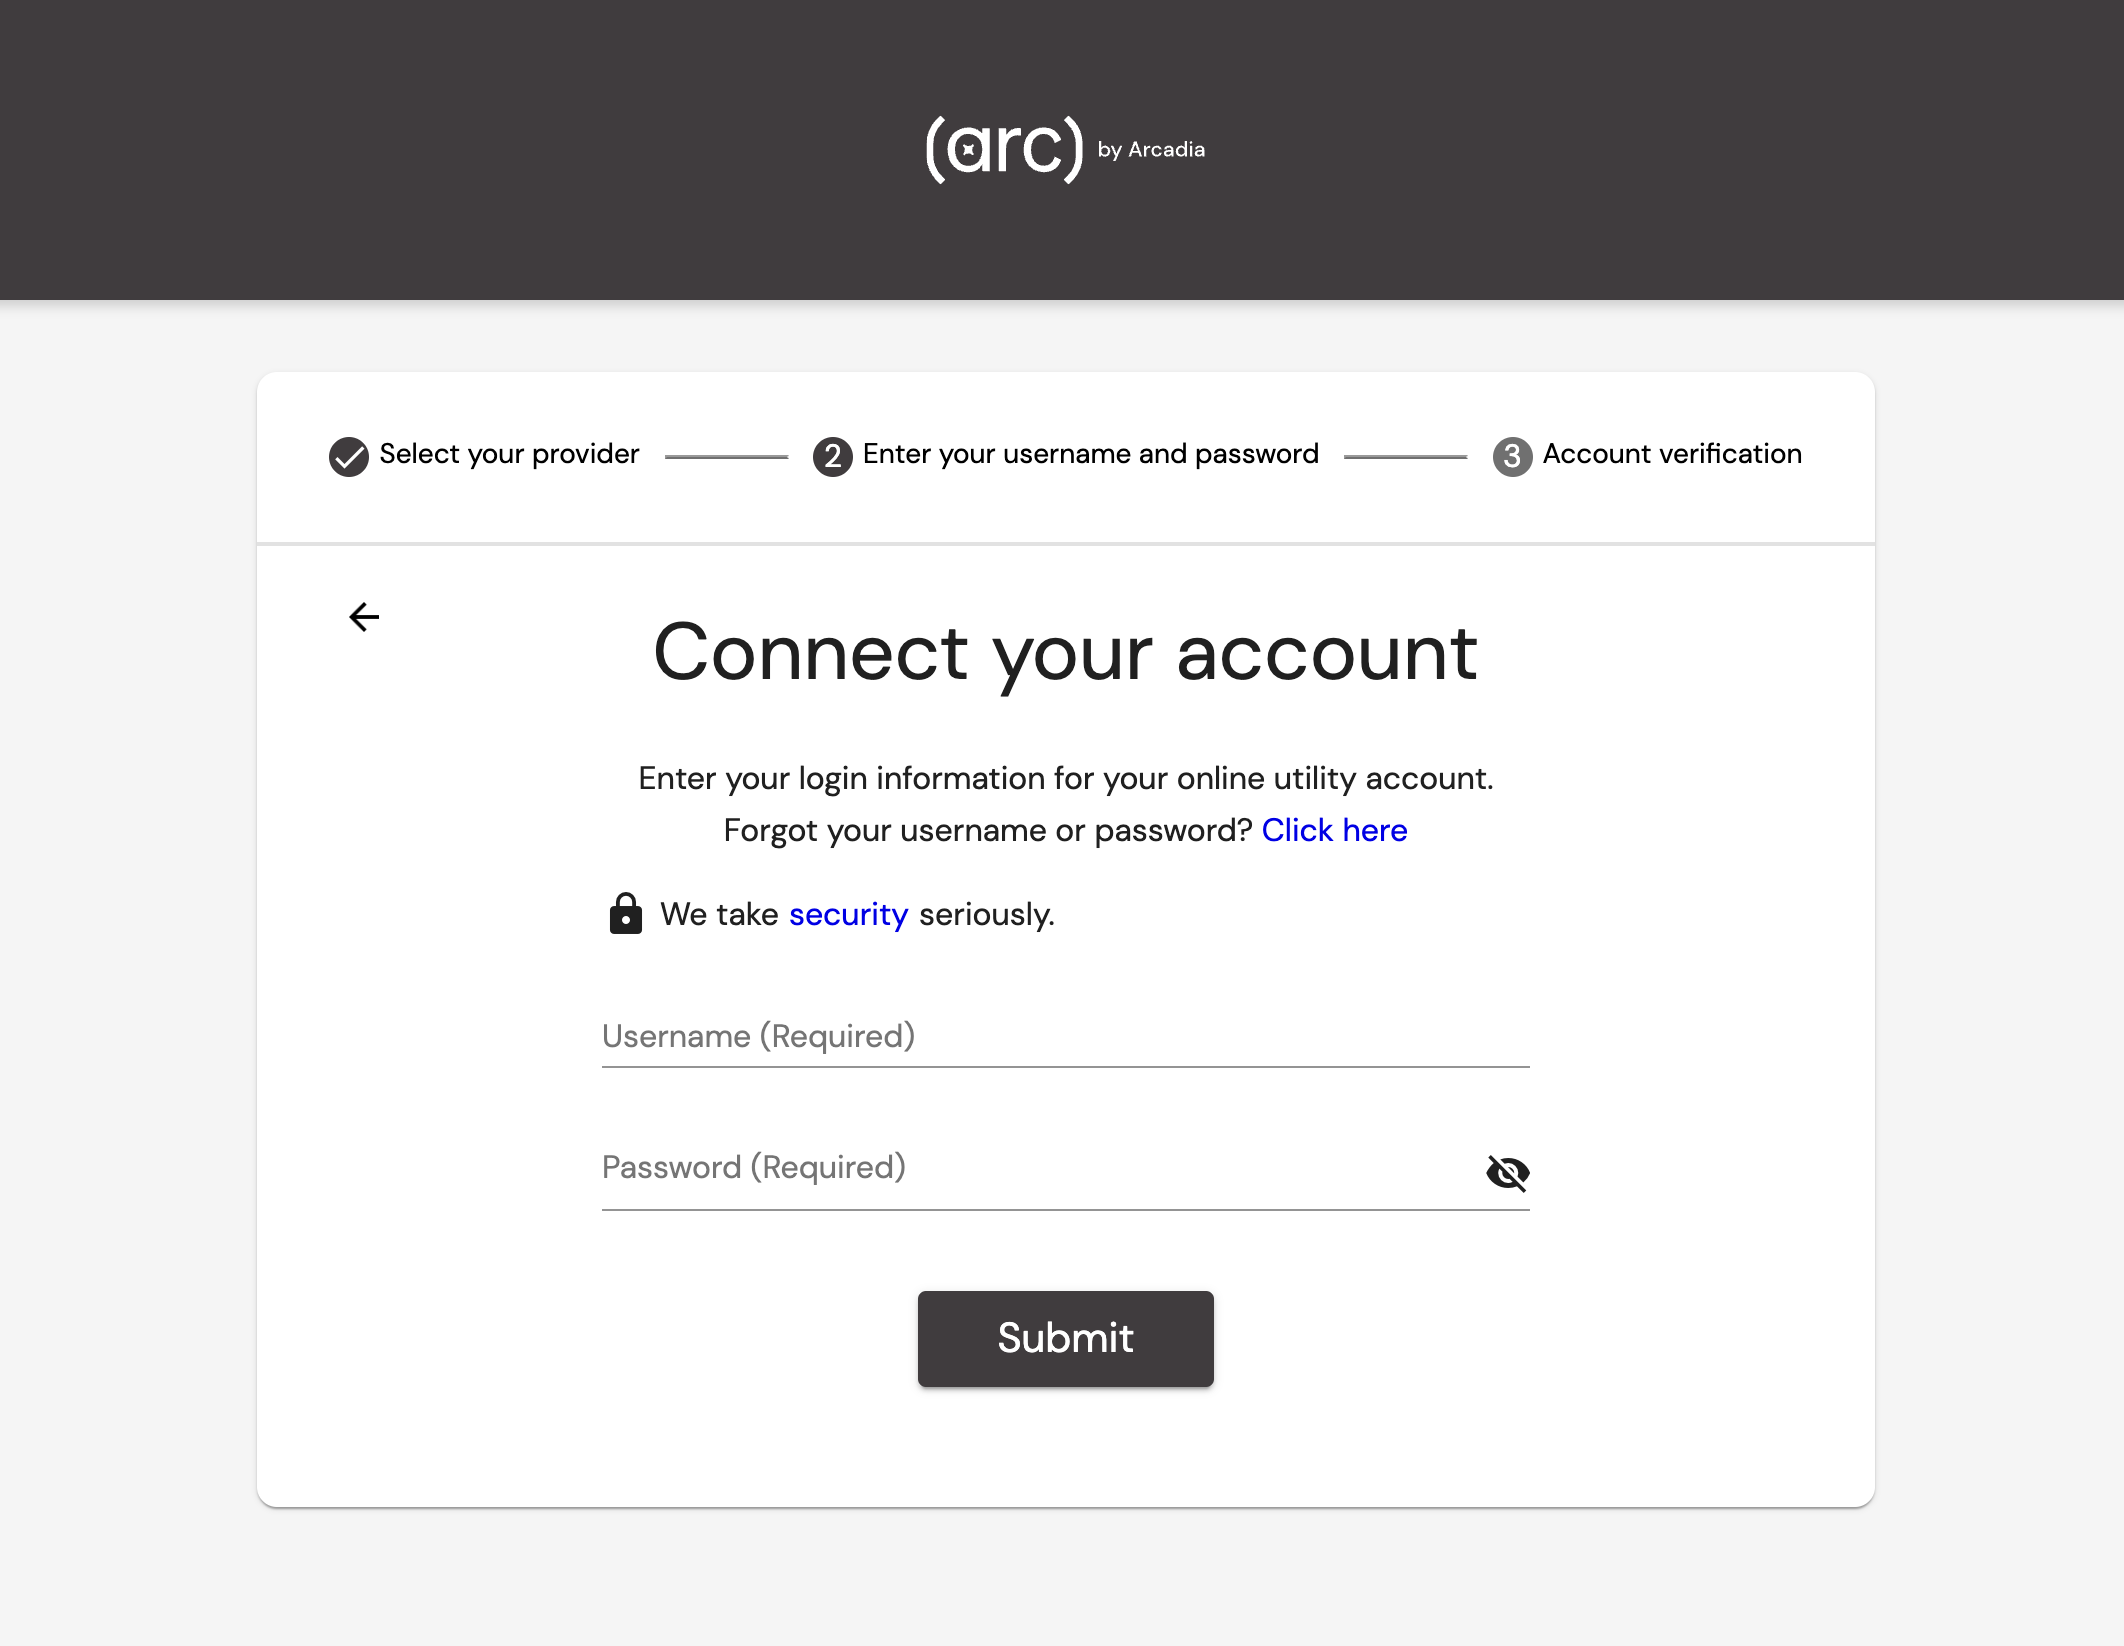
Enter username & password
Console
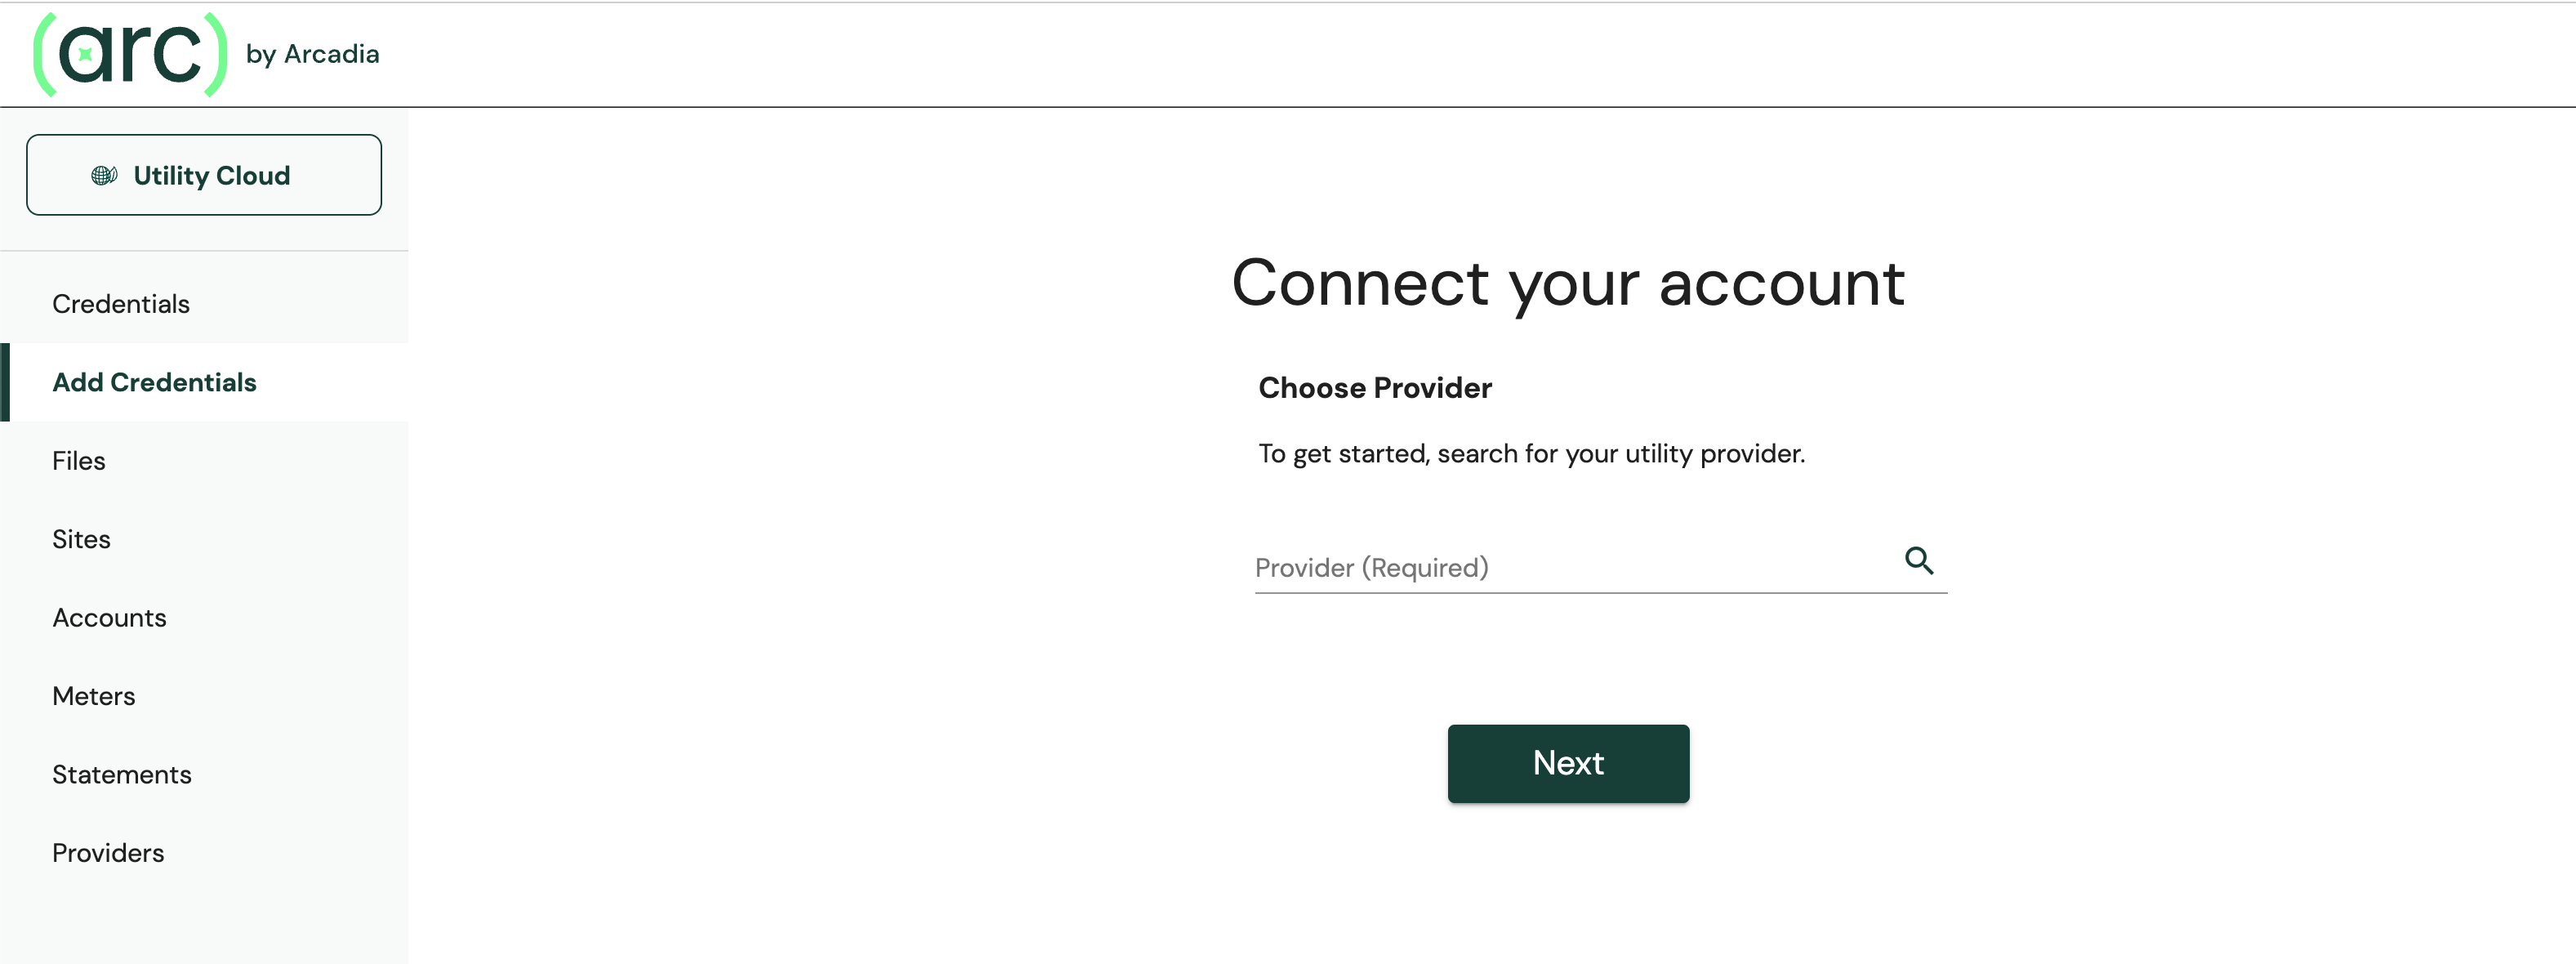
You can link accounts in Console in the same manner as you can with Connect. To add a new credential through Connect, use the Credentials Module and click "Add Credentials". When a credential is added to the system, Utility Cloud will immediately go and acquire all accounts behind that credential. This can take time depending on the number of accounts behind the credential.
Select a utility provider
To get started, enter the name of a utility provider that you'd like to connect.
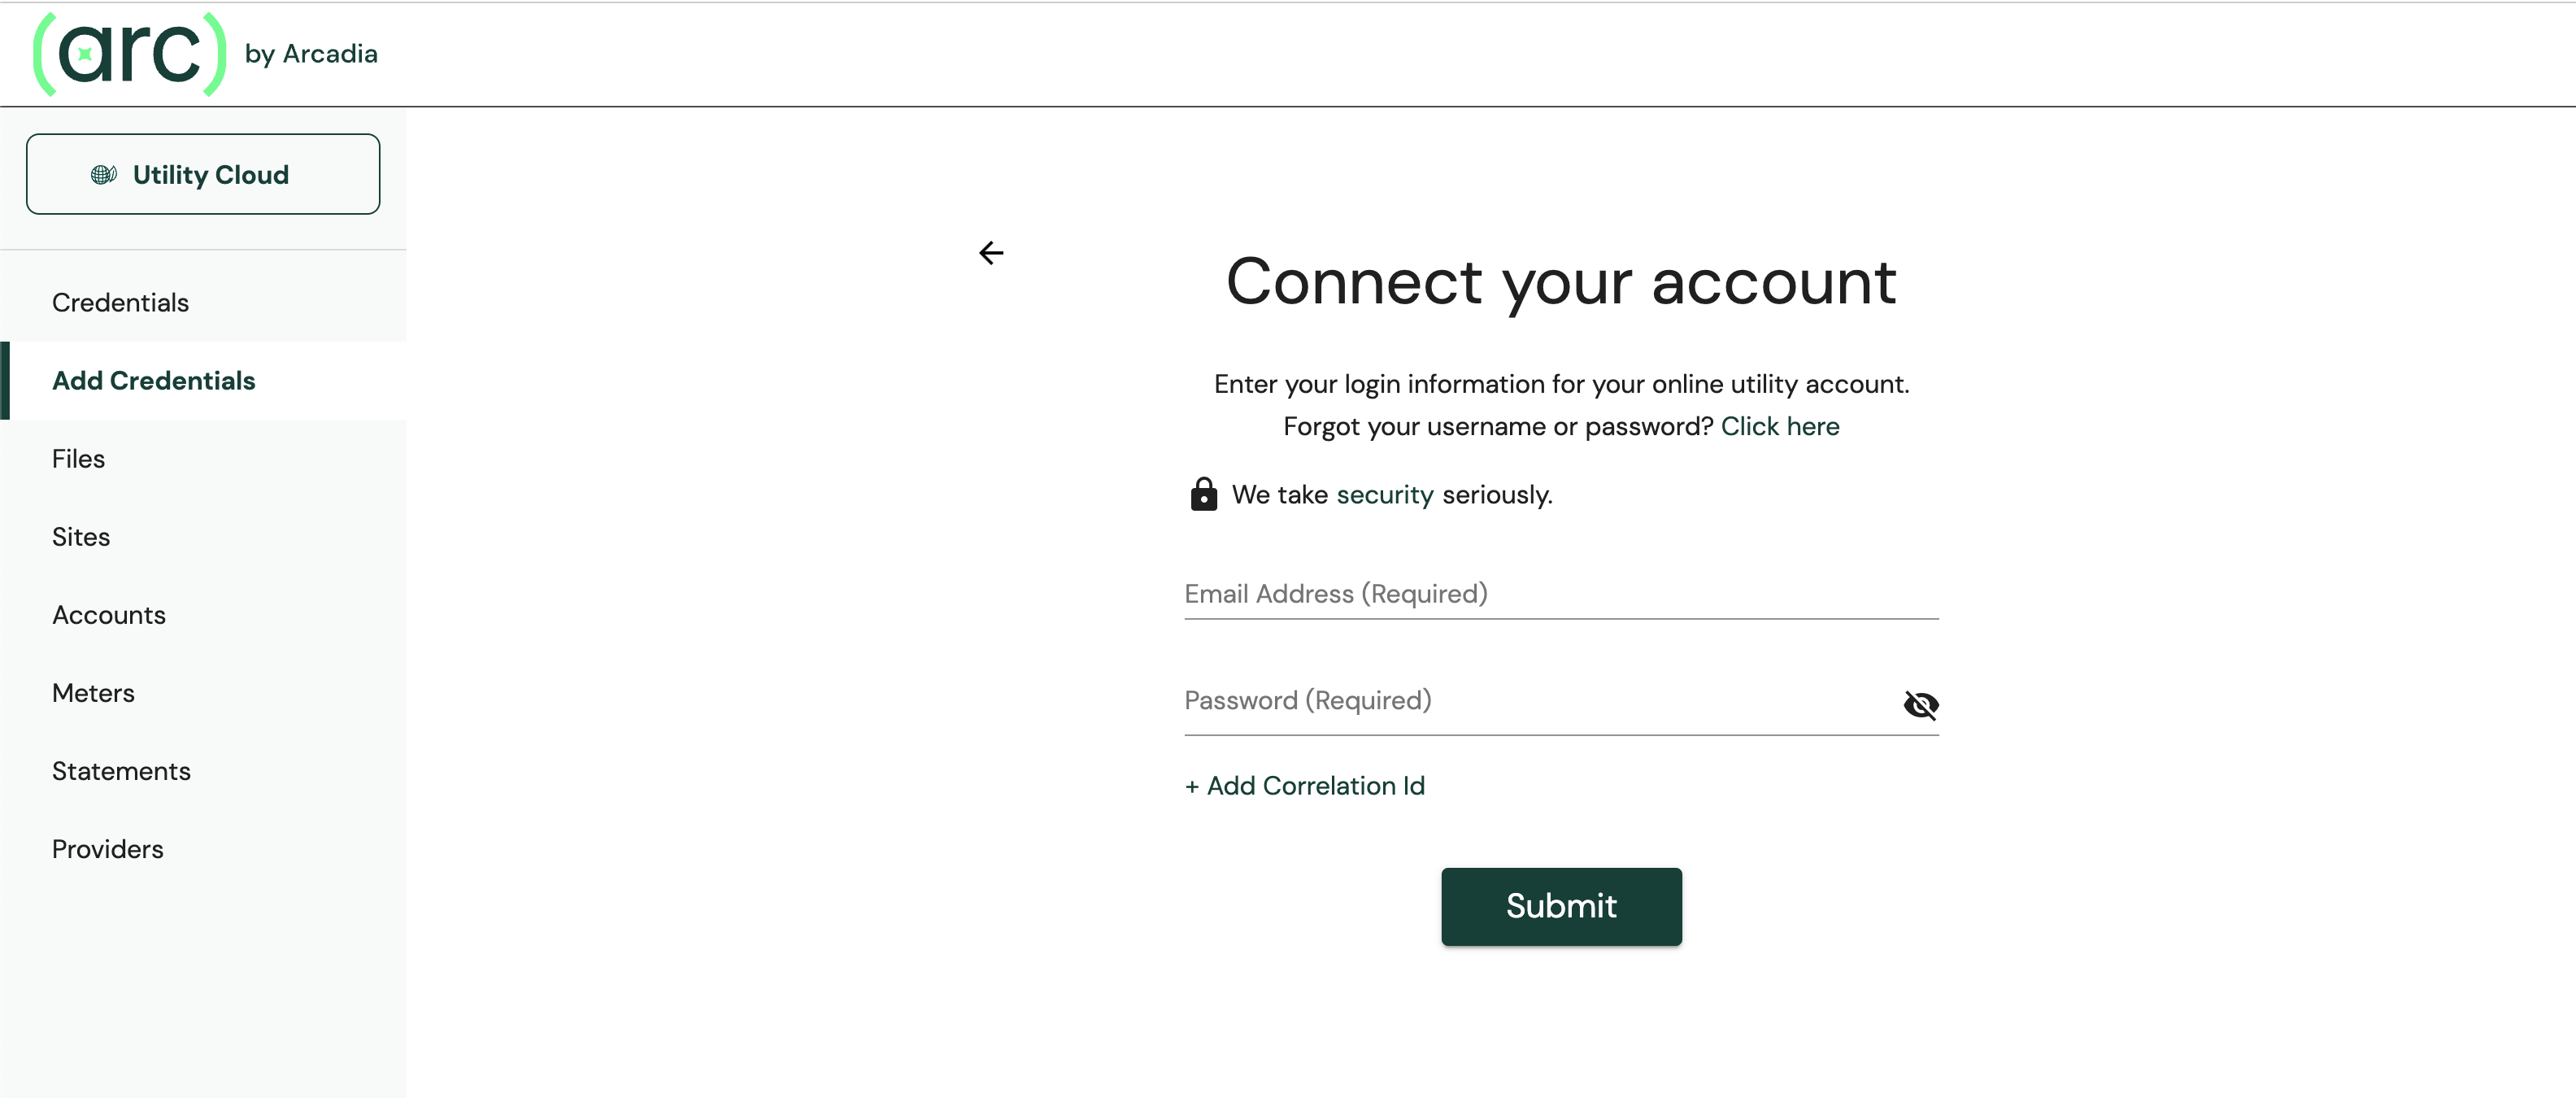
Enter username & password
Enter the credentials for the provider. Optionally, you can also add a correlation ID to the credentials. This is a field to add any string value to help map credentials back into your system.
Step 2: download utility data
Once a data request is complete, you can view its utility data in the several data modules - Credentials, Accounts, Meters, Statements, and Sites.
Credentials
On the Credentials page, you can see a list of all the credentials in the system. Across the top of the page are quick filters that allow you to sort by status.
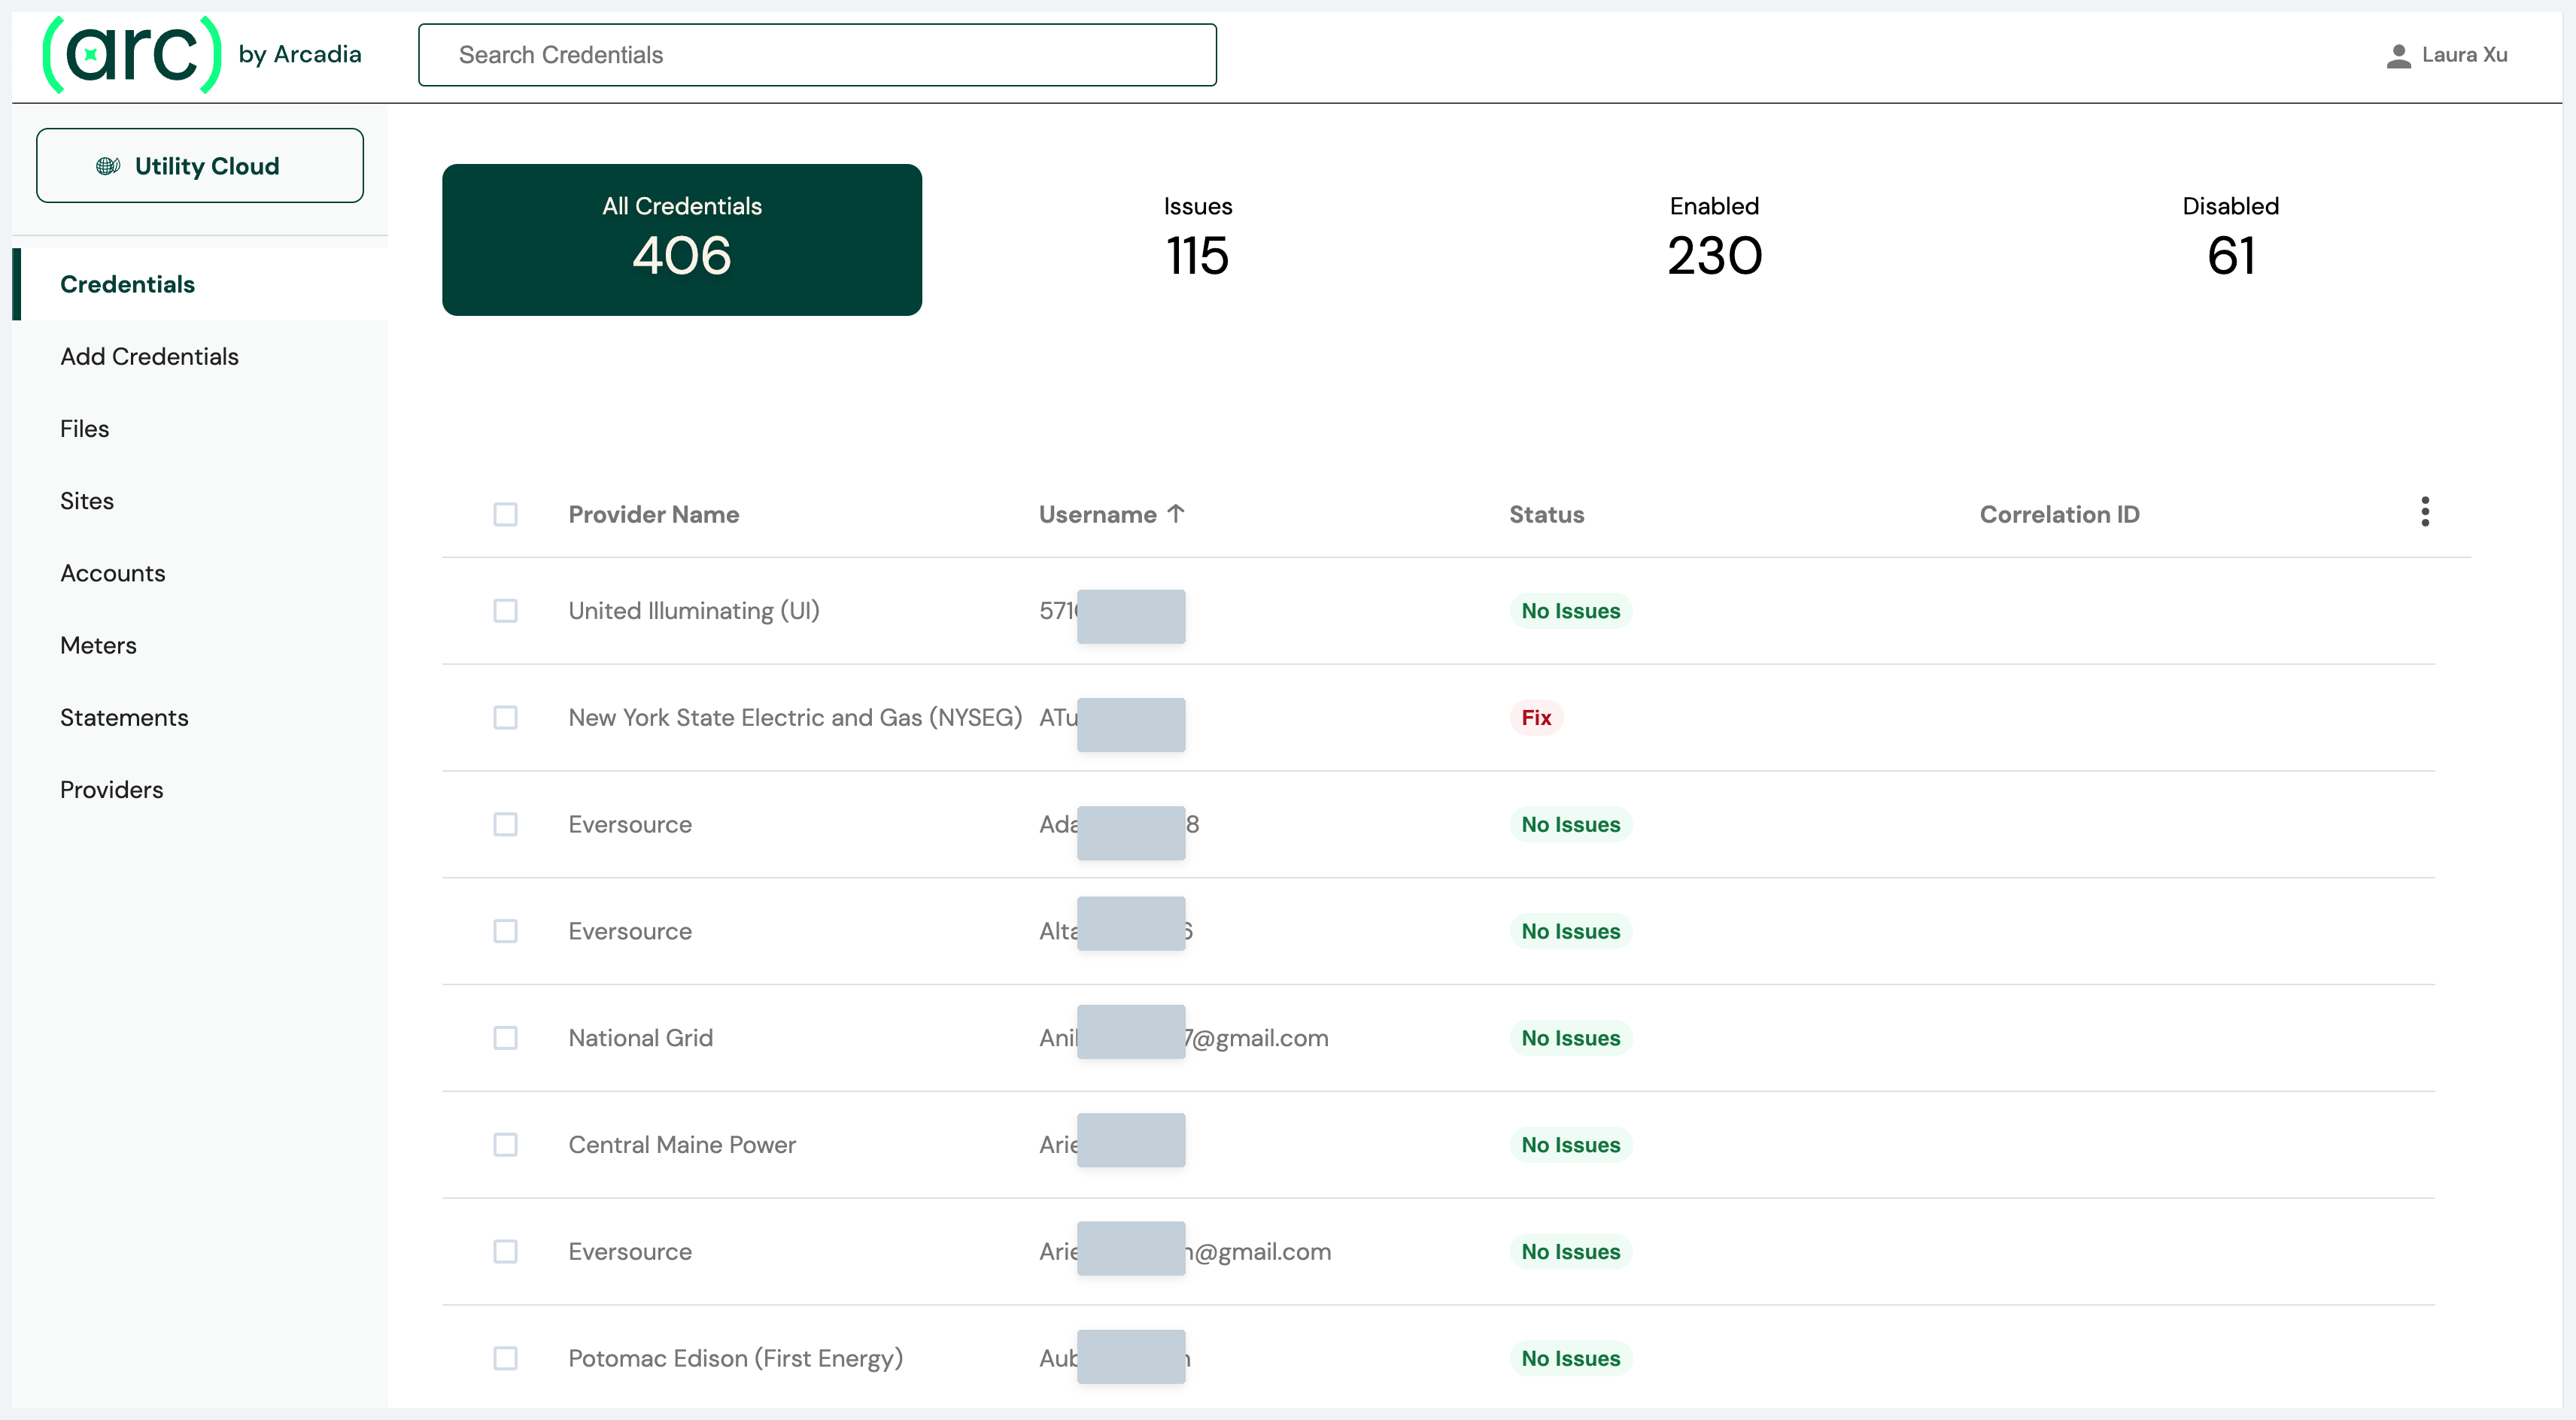
- Issues -- This filter shows credentials that have a Login Failure, Blocked, No accounts are found, or bills are unavailable. Check these credentials to see if any action needs to be taken to allow Utility Cloud to continue to get data.
- Active -- This filter shows all credentials that Utility Cloud is actively monitoring for new invoices
- Inactive -- This filter shows all credentials that Utility Cloud is no longer actively monitoring for new invoices
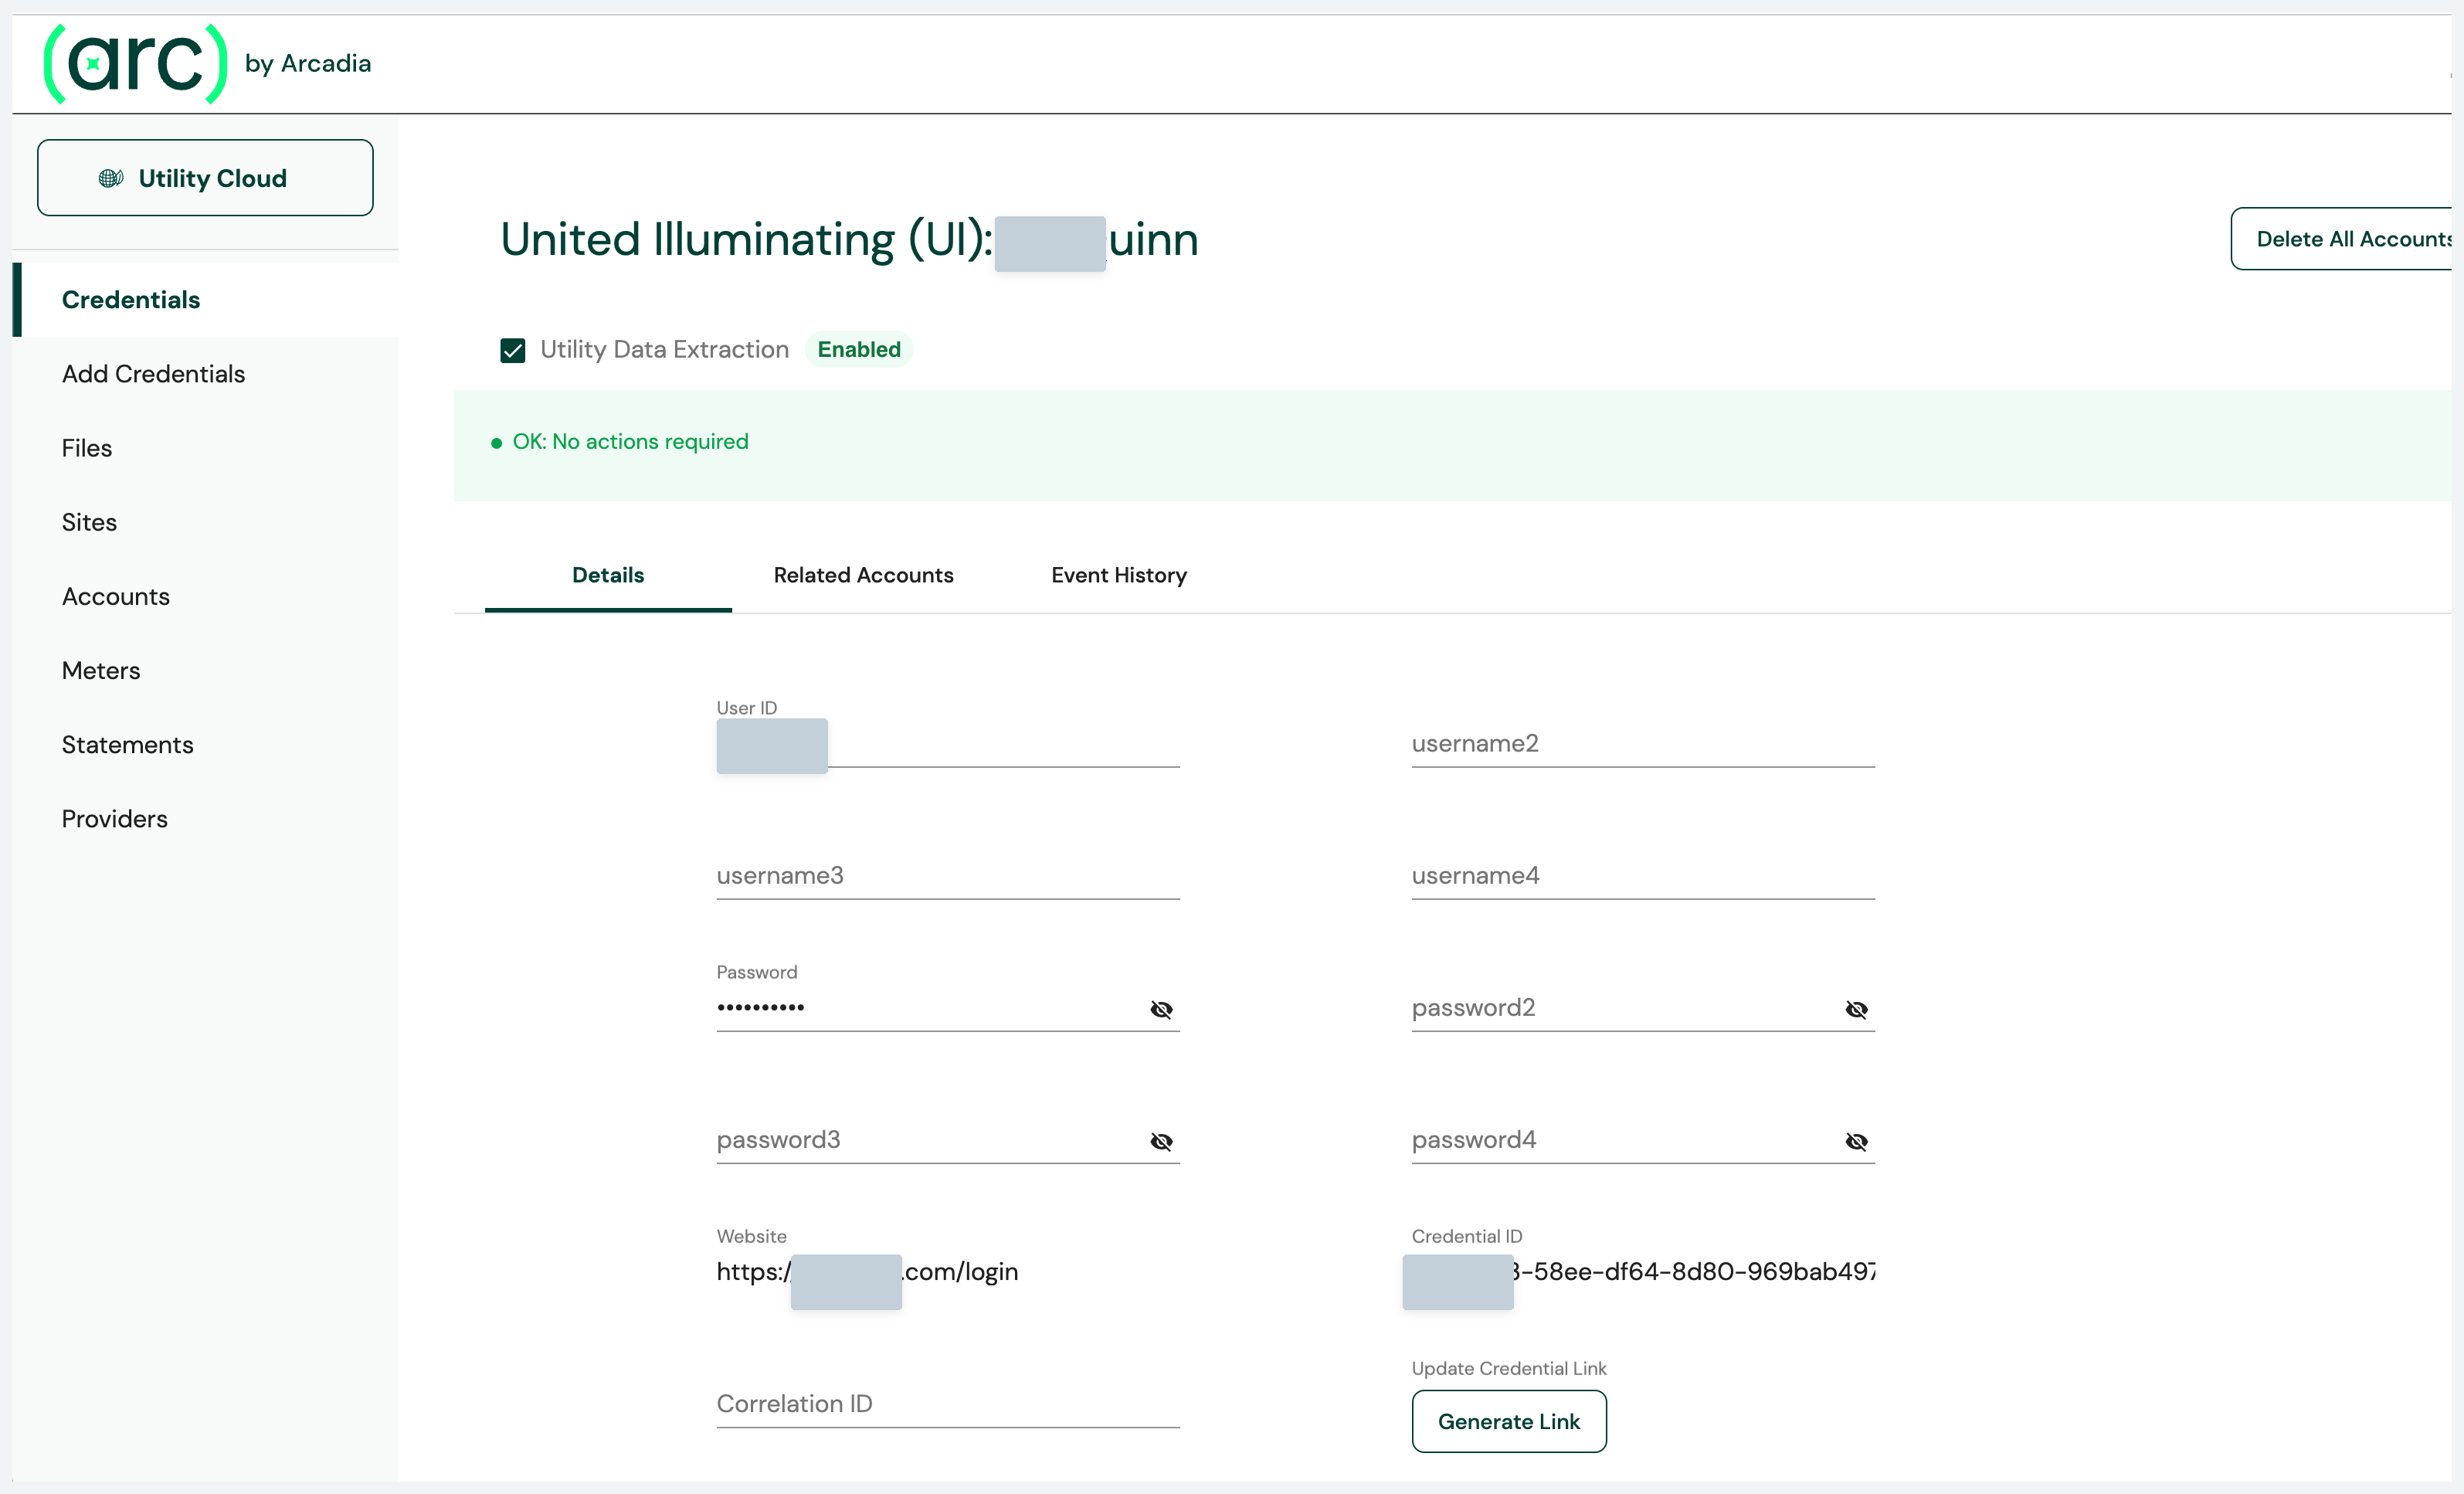
When you click on a specific credential, the details are displayed. The details page shows you everything you need to know about the credential. You can also click on the Related Accounts tab to see all accounts that are associated with this credential.
Accounts
On the Accounts page, you can see filters for different account statuses. Accounts will appear here after the platform has been able to navigate and acquire utility invoices and has parsed data from them.
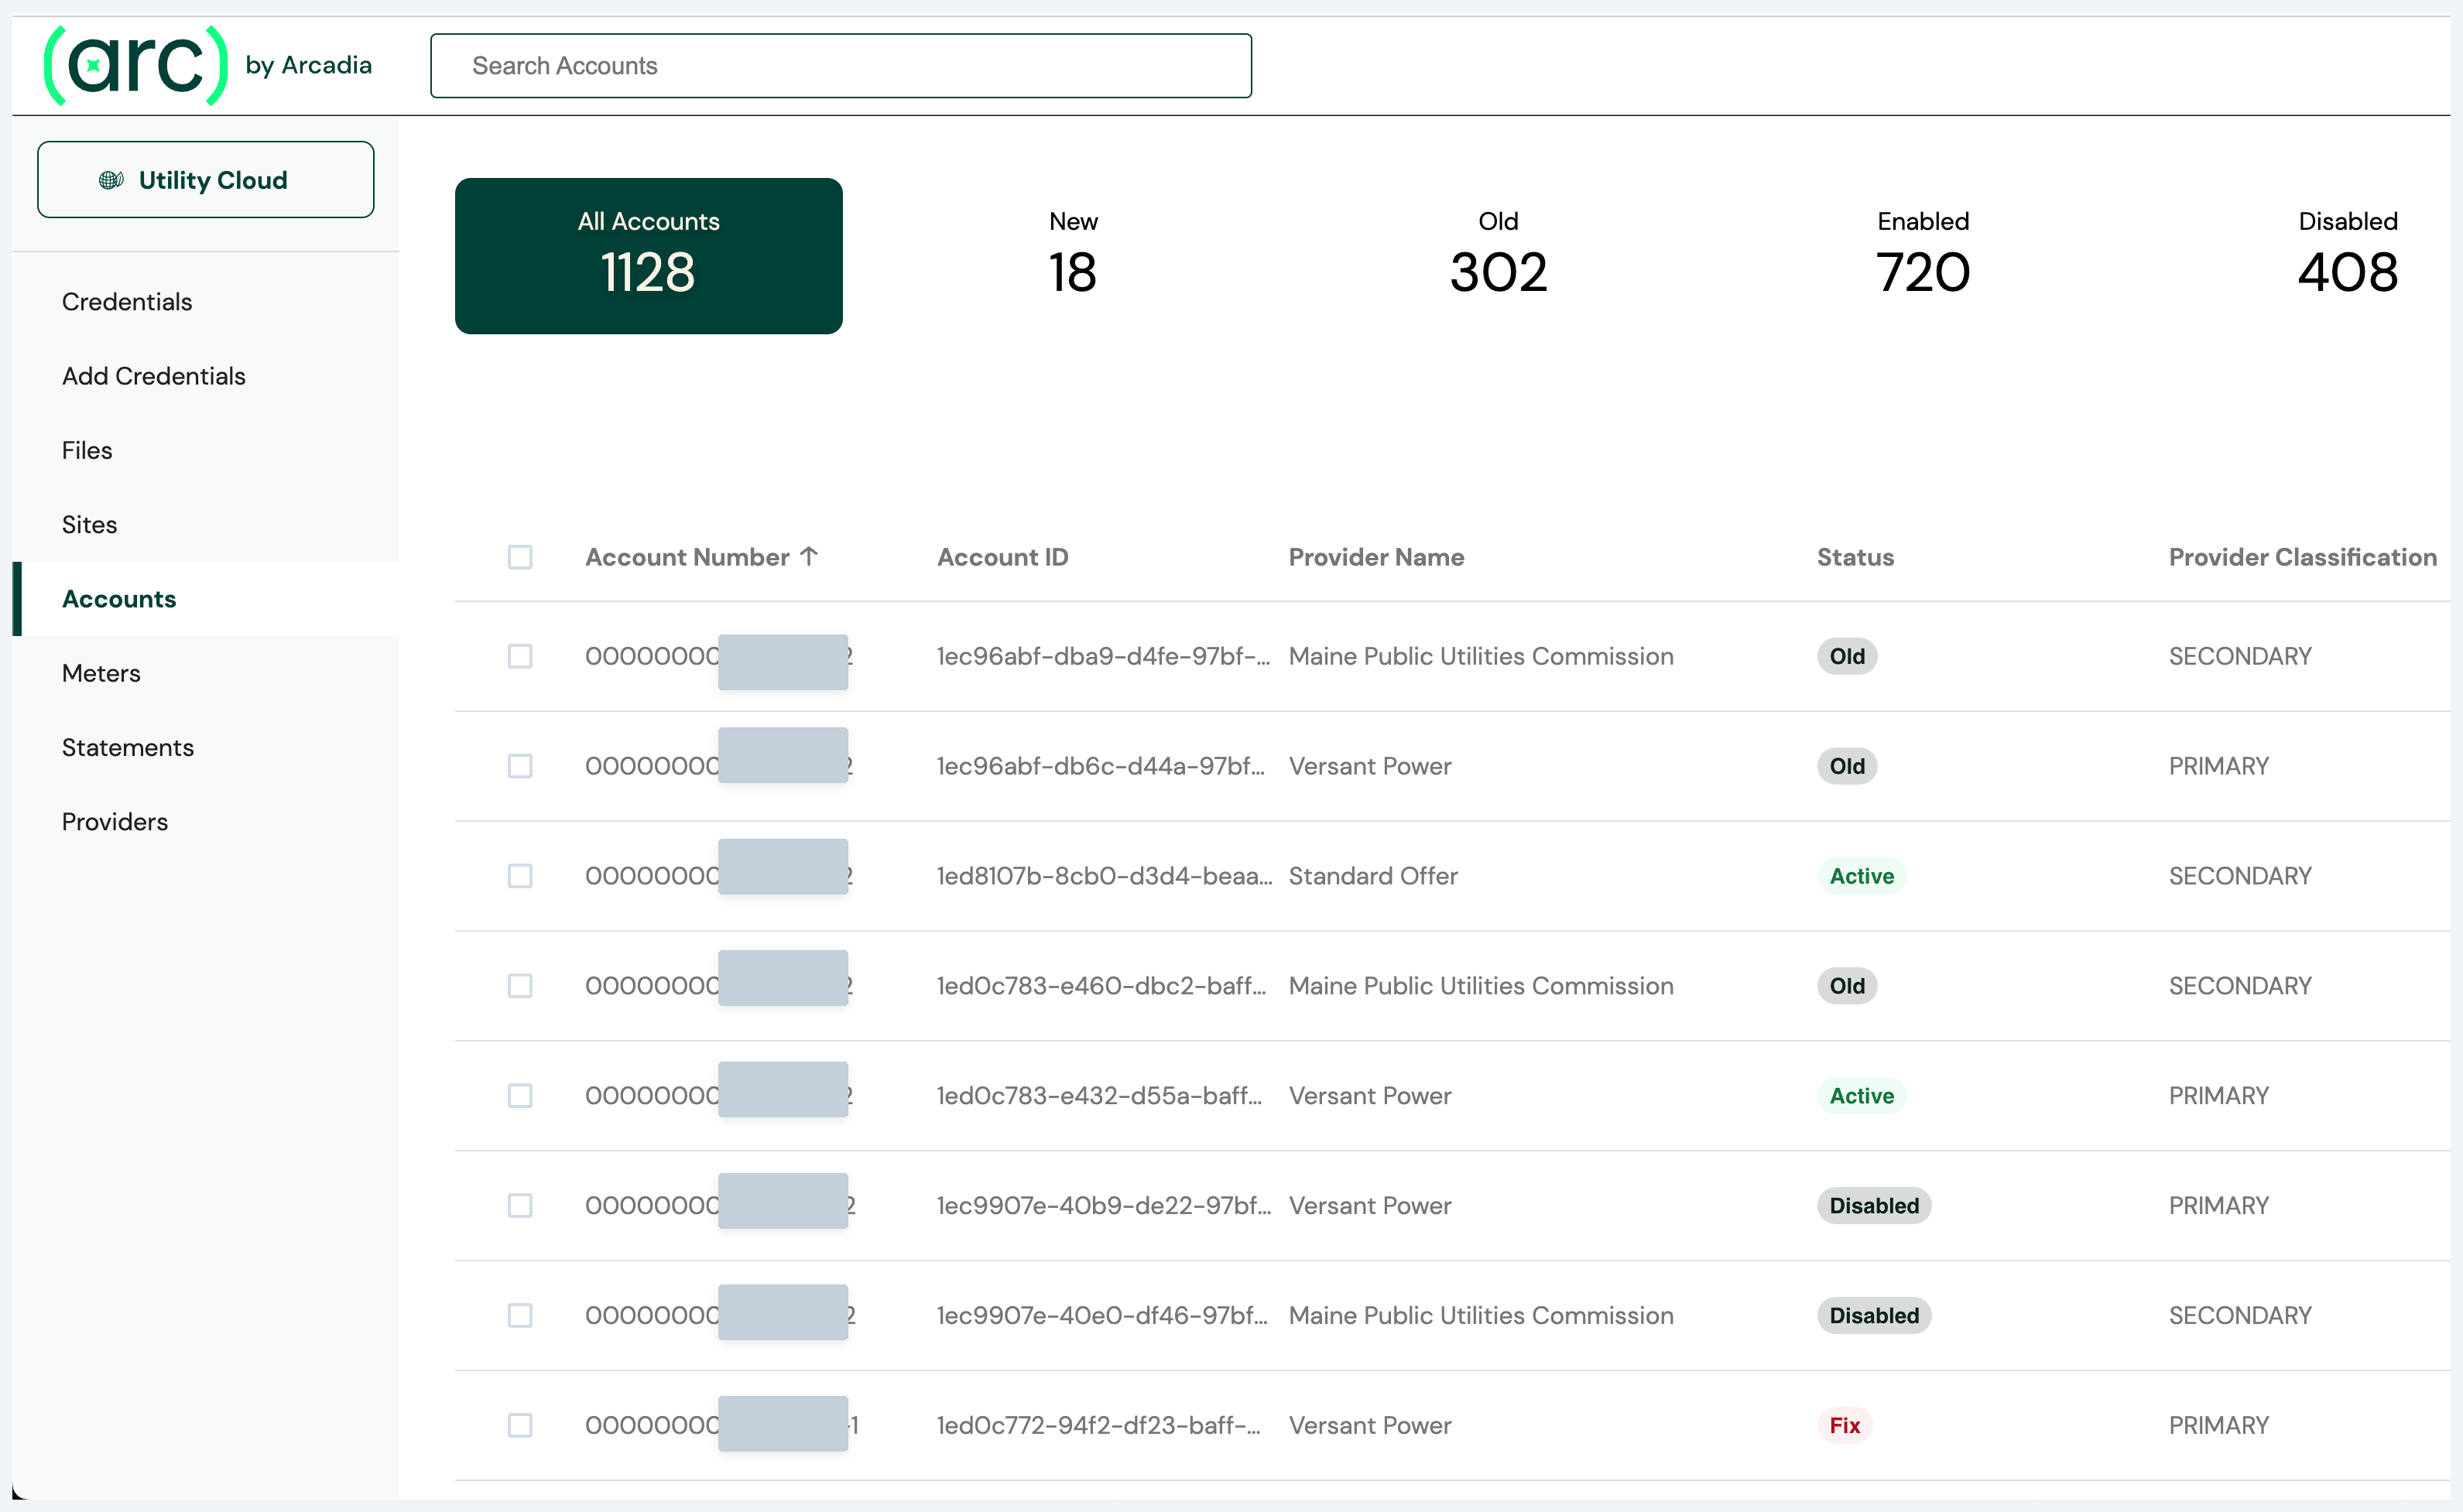
- New: These accounts were recently discovered. you should review this list and deactivate any unnecessary accounts.
- Old: No new bill has been posted in >45 days. The user should review and deactivate any inactive accounts.
- Subscribed: All is working and accounts are up-to-date
- Unsubscribed: Unsubscribed Accounts. For these accounts, bills are not accessible and no notifications will be sent.
When you click on a specific account, the details page is displayed. Here you can access account attributes, the associated credentials, event history, associated meters, and account transactions statement and payment data. You can also subscribe/unsubscribe the account using the toggle in the upper right-hand corner of the page.
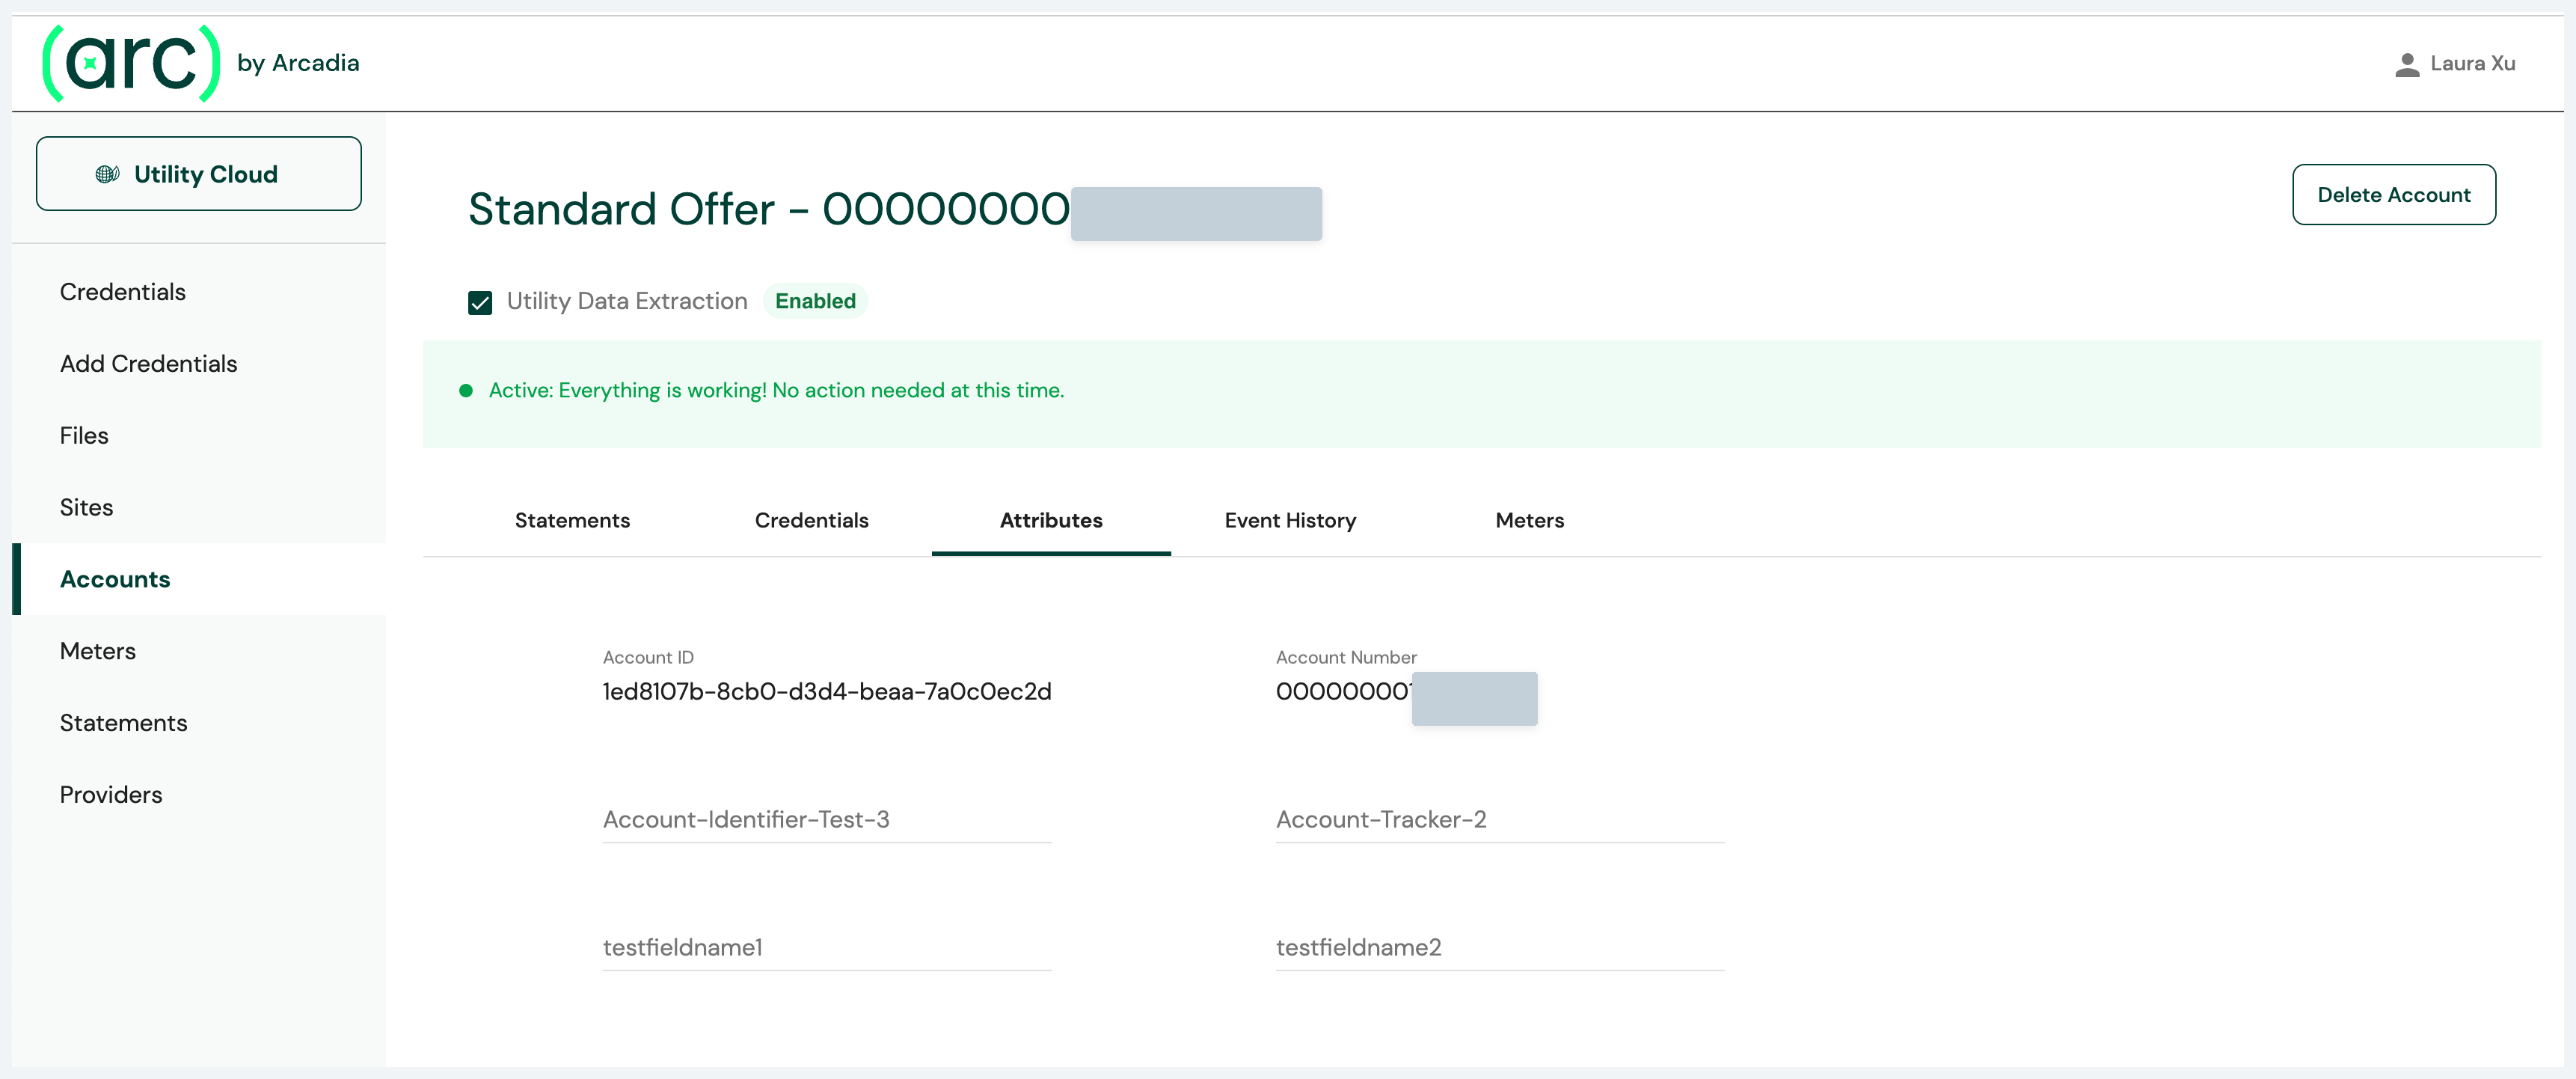
On the Statements tab, you can download statements and a CSV file will be downloaded to your local device.
On the Meters tab, you can view the meters associated with this account. For additional meter level data, you can click on a meter in the table and go to the meter's details page.
Meters
On the Meters page, you can see filters for different meter statuses. Meters will appear here after the platform has been able to extract data from utility statements.
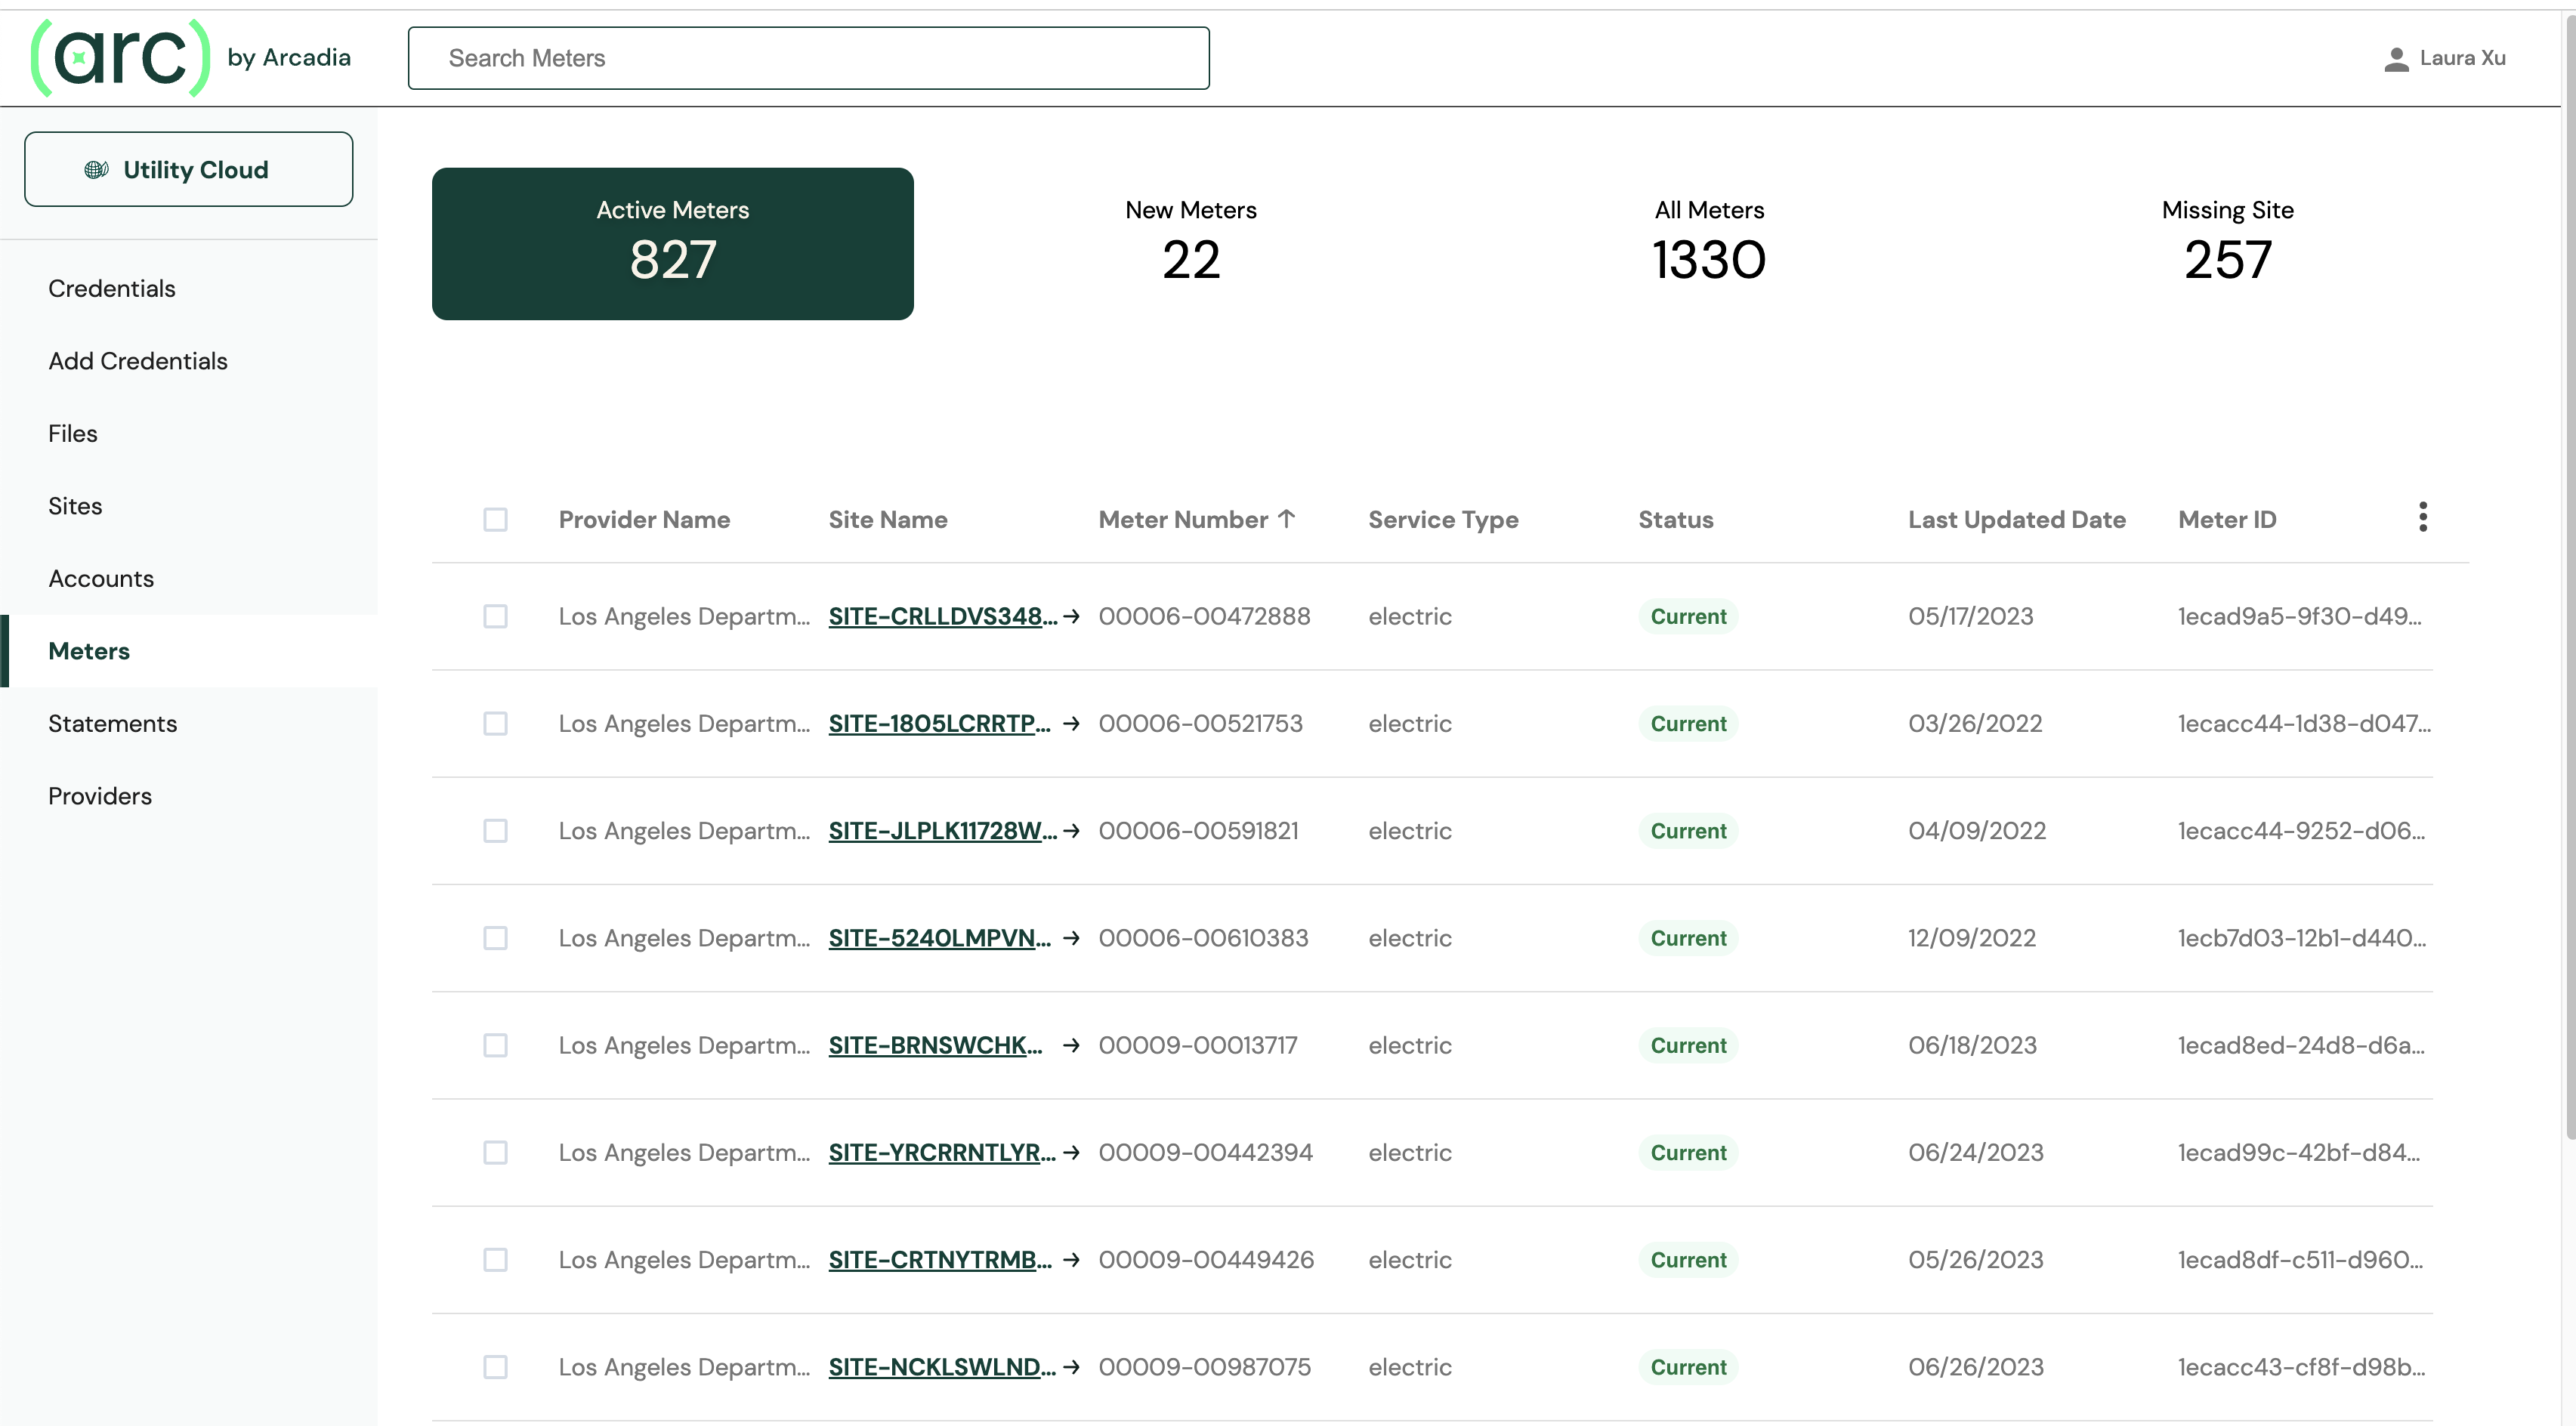
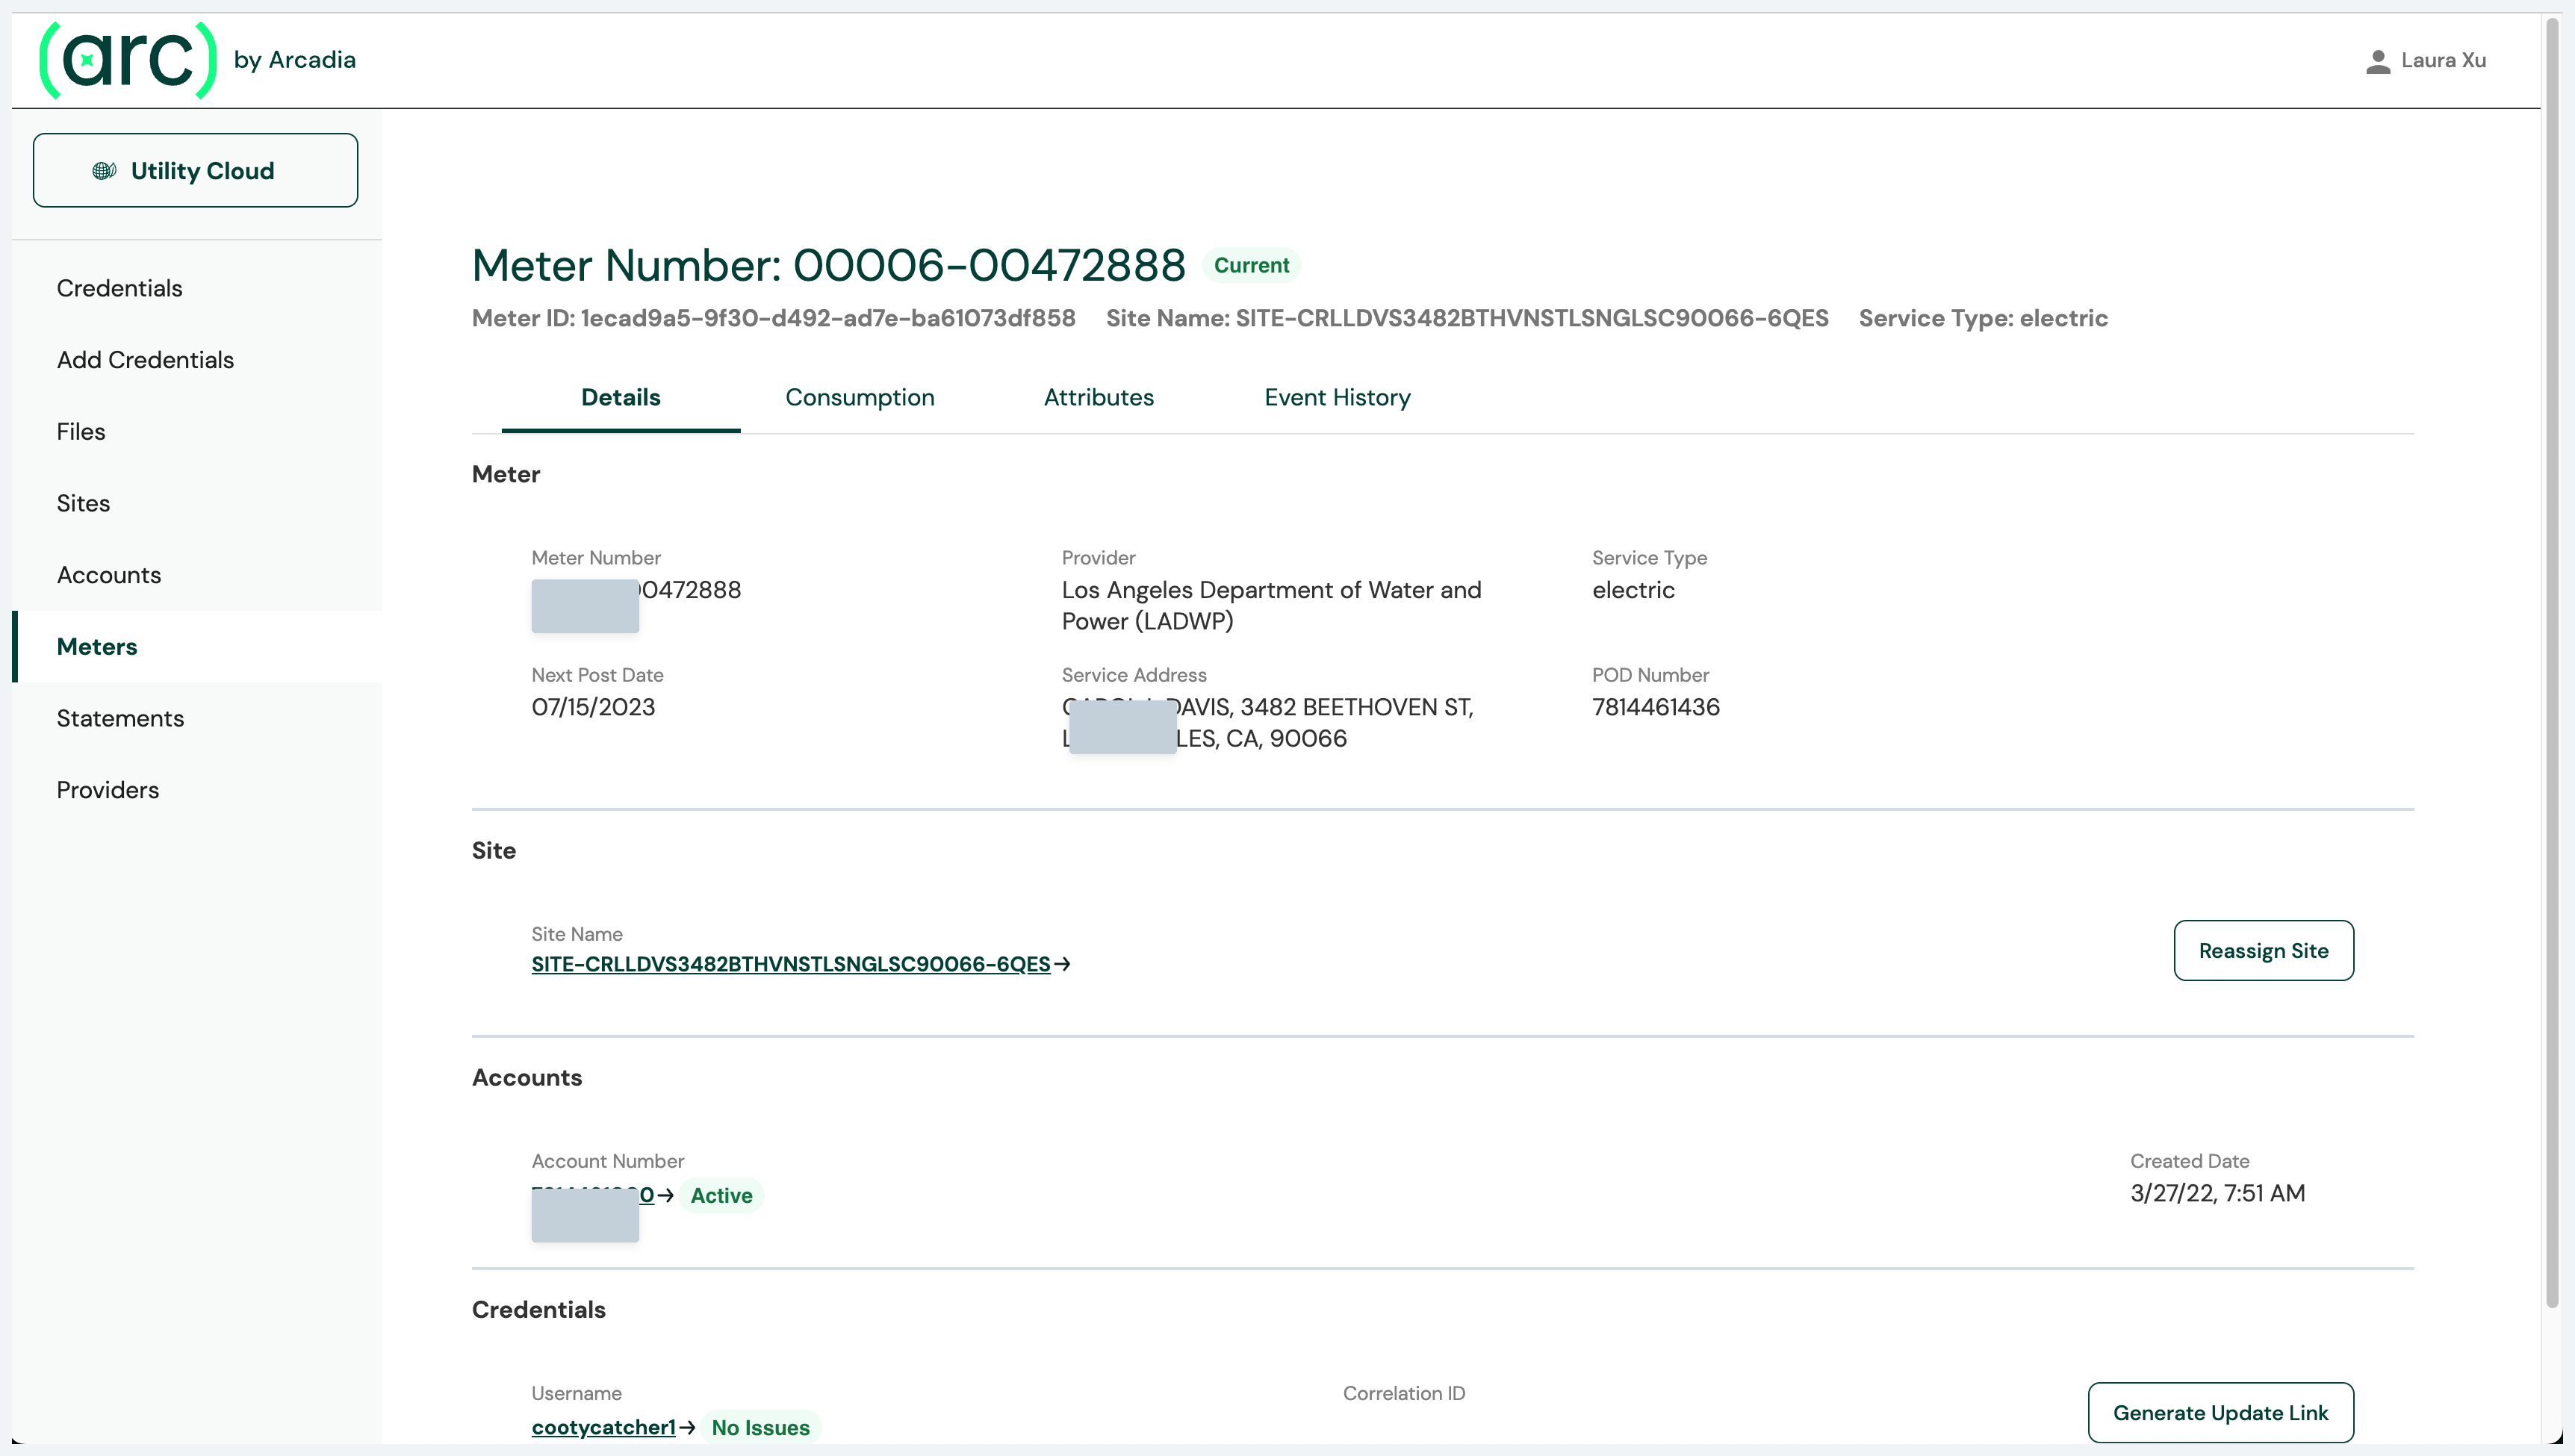
You are able to view the meter's details, charges, attributes, and event history.
- New: These meters were recently discovered
- All: This displays all meters in the system
- Missing Site: These meters have not been assigned to a site
You can assign one or more meters to a site by selecting the checkbox next to each meter that you would like to move.
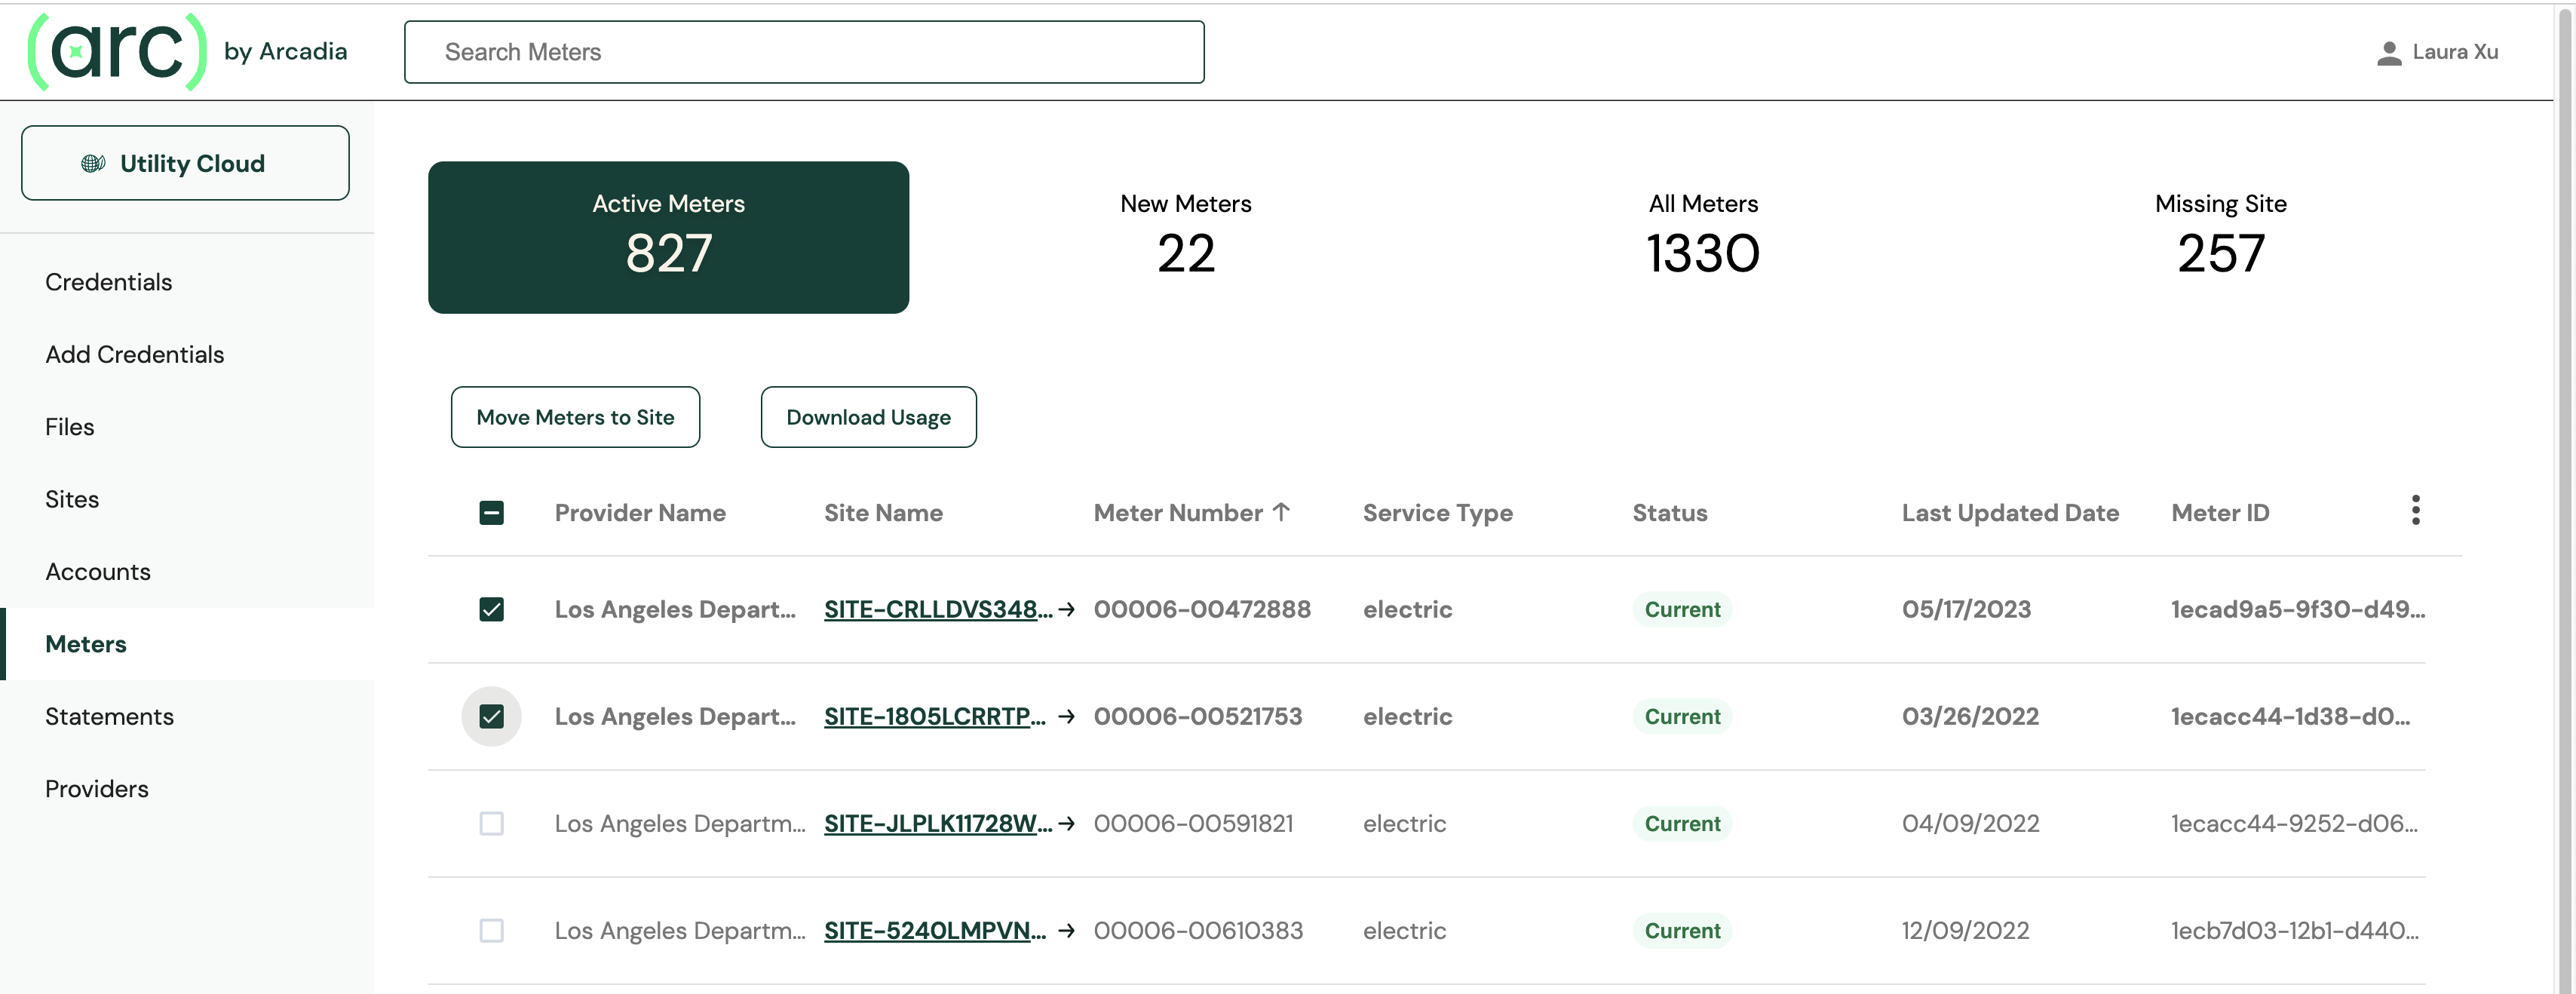
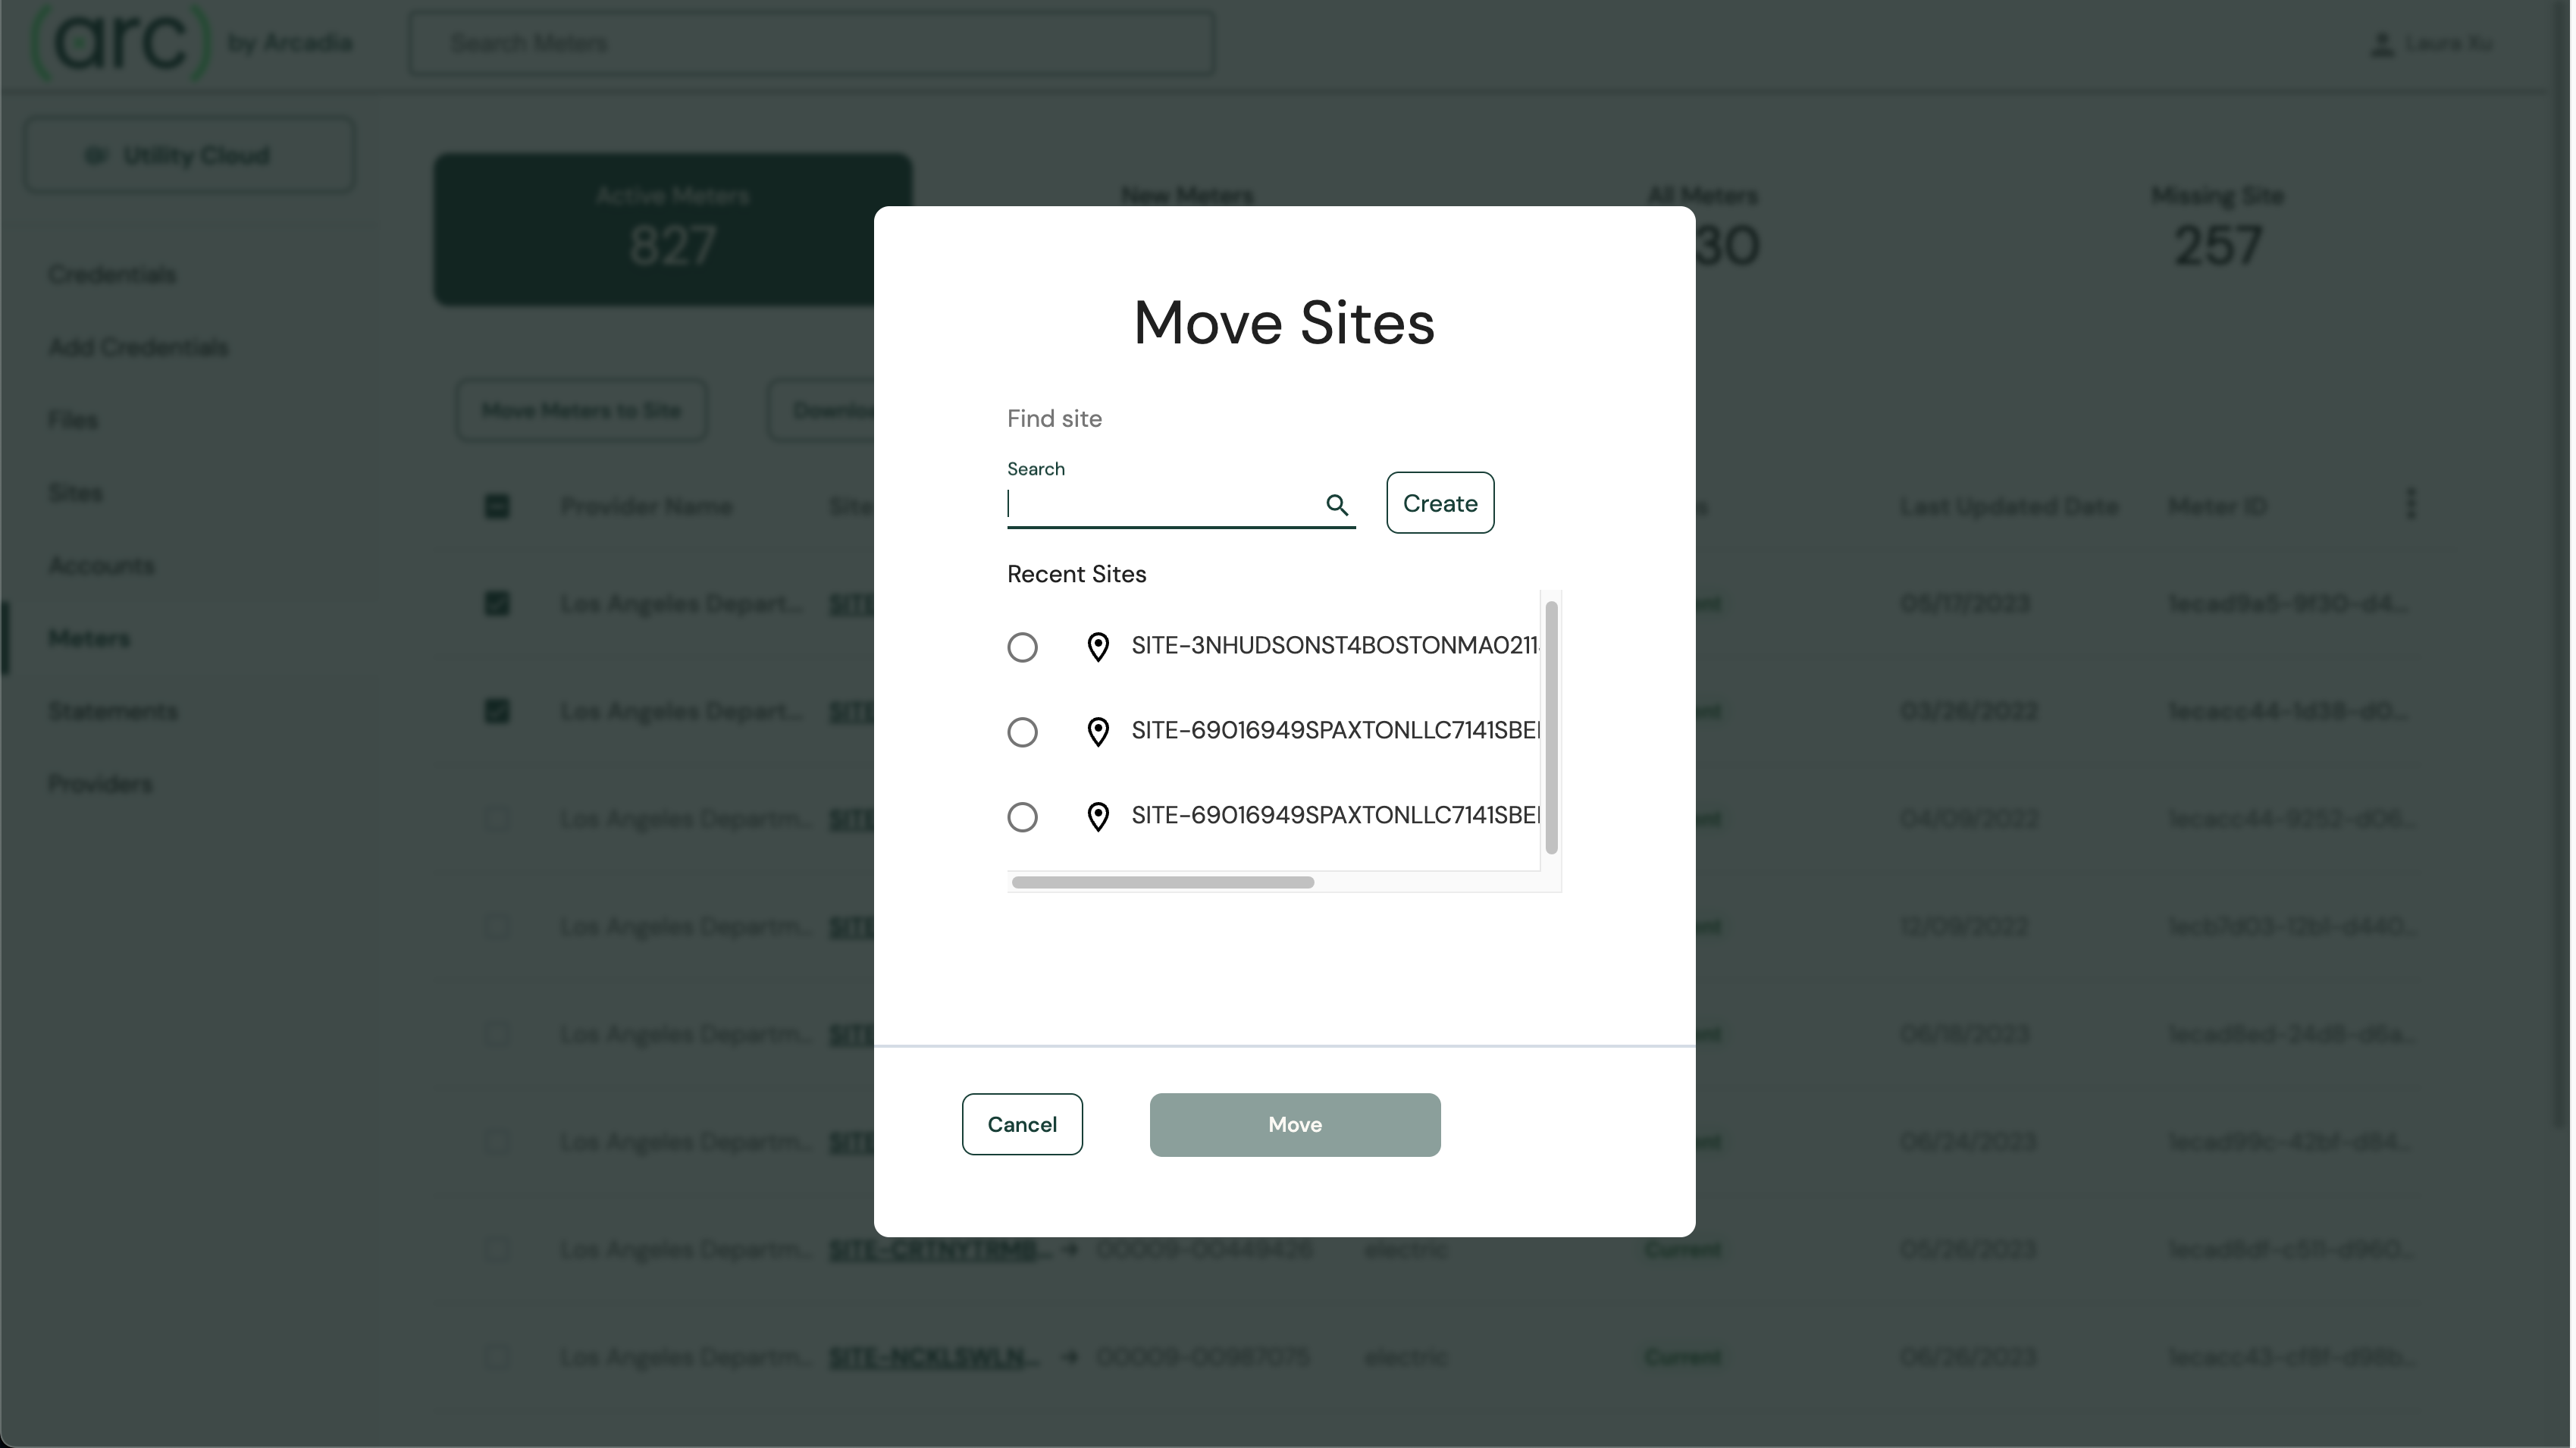
After selecting the necessary meters, you can click Move meters to site and assign these meters to an existing site or create a new one.
Sites
You can assign meters to a site in order to group by a location or another logical grouping for your system. When you assign one or more meters to a site, the site will display the meters and all associated credentials, accounts, and statements. Each site can have nine fields where you can define values and tie these values back to records in your system. These fields are site ID, site created date, site name, site code, site number, site address, facility type, site region, and site sub-region.
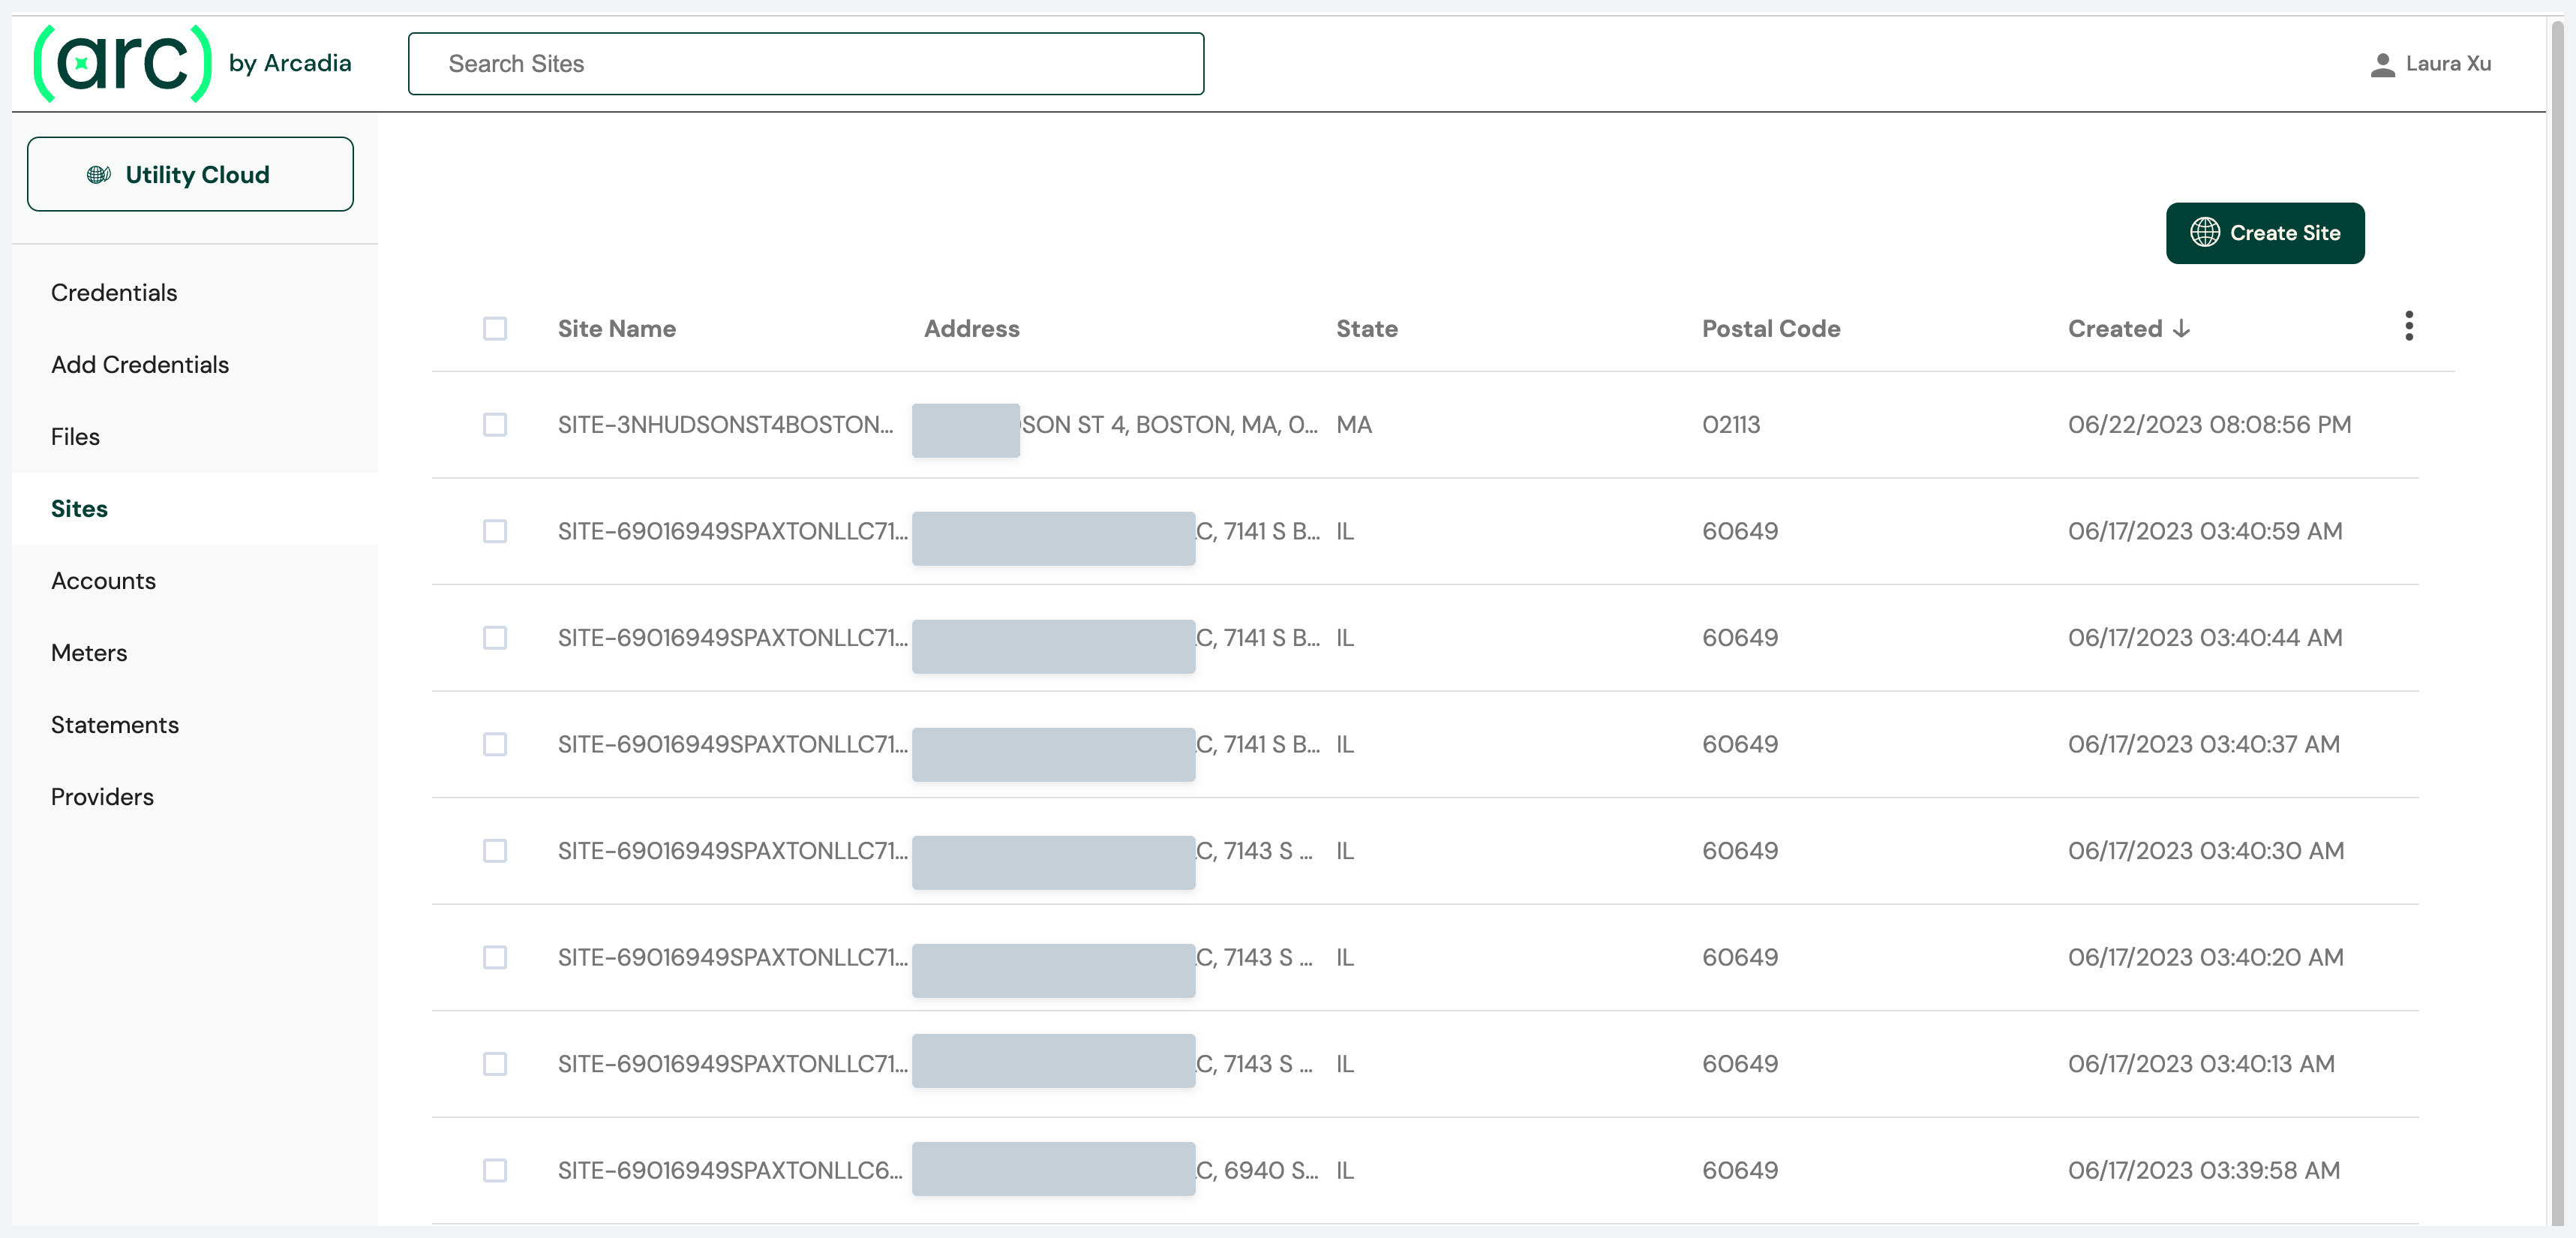
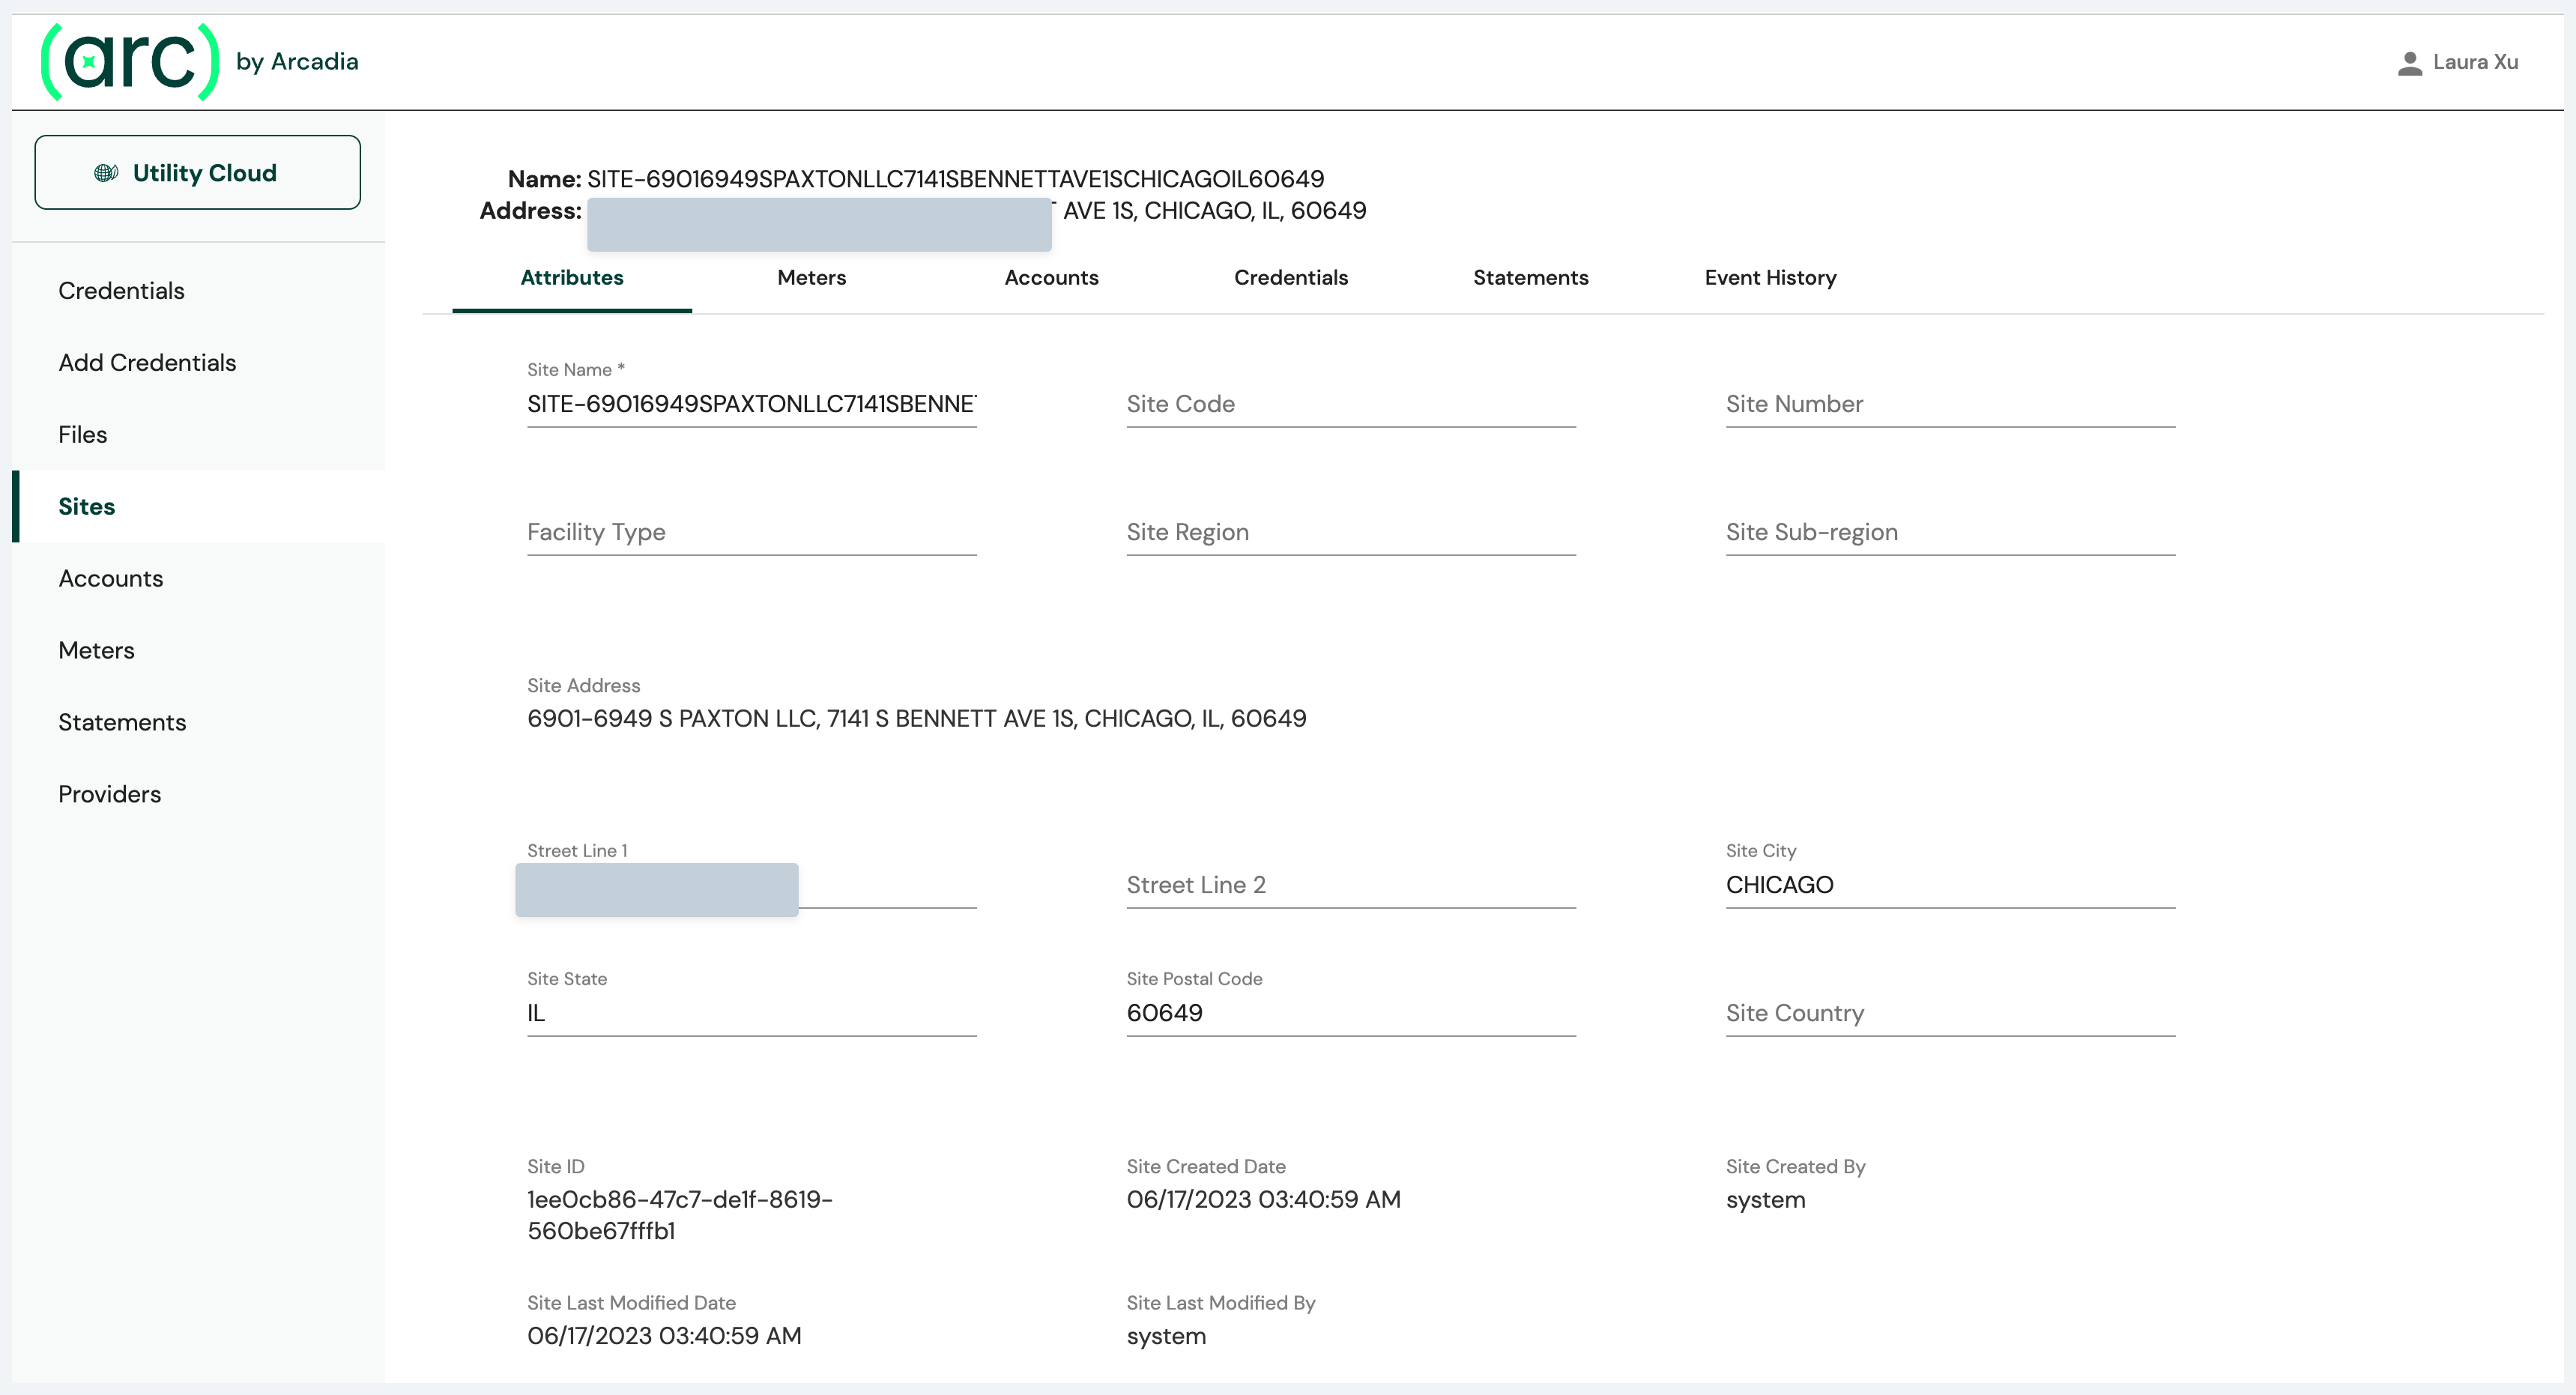
For site's details, please click on the site row that you would like to review. The site details view will display the nine site level attributes, meters, accounts, credentials, statements, and event history.
Site Deletion
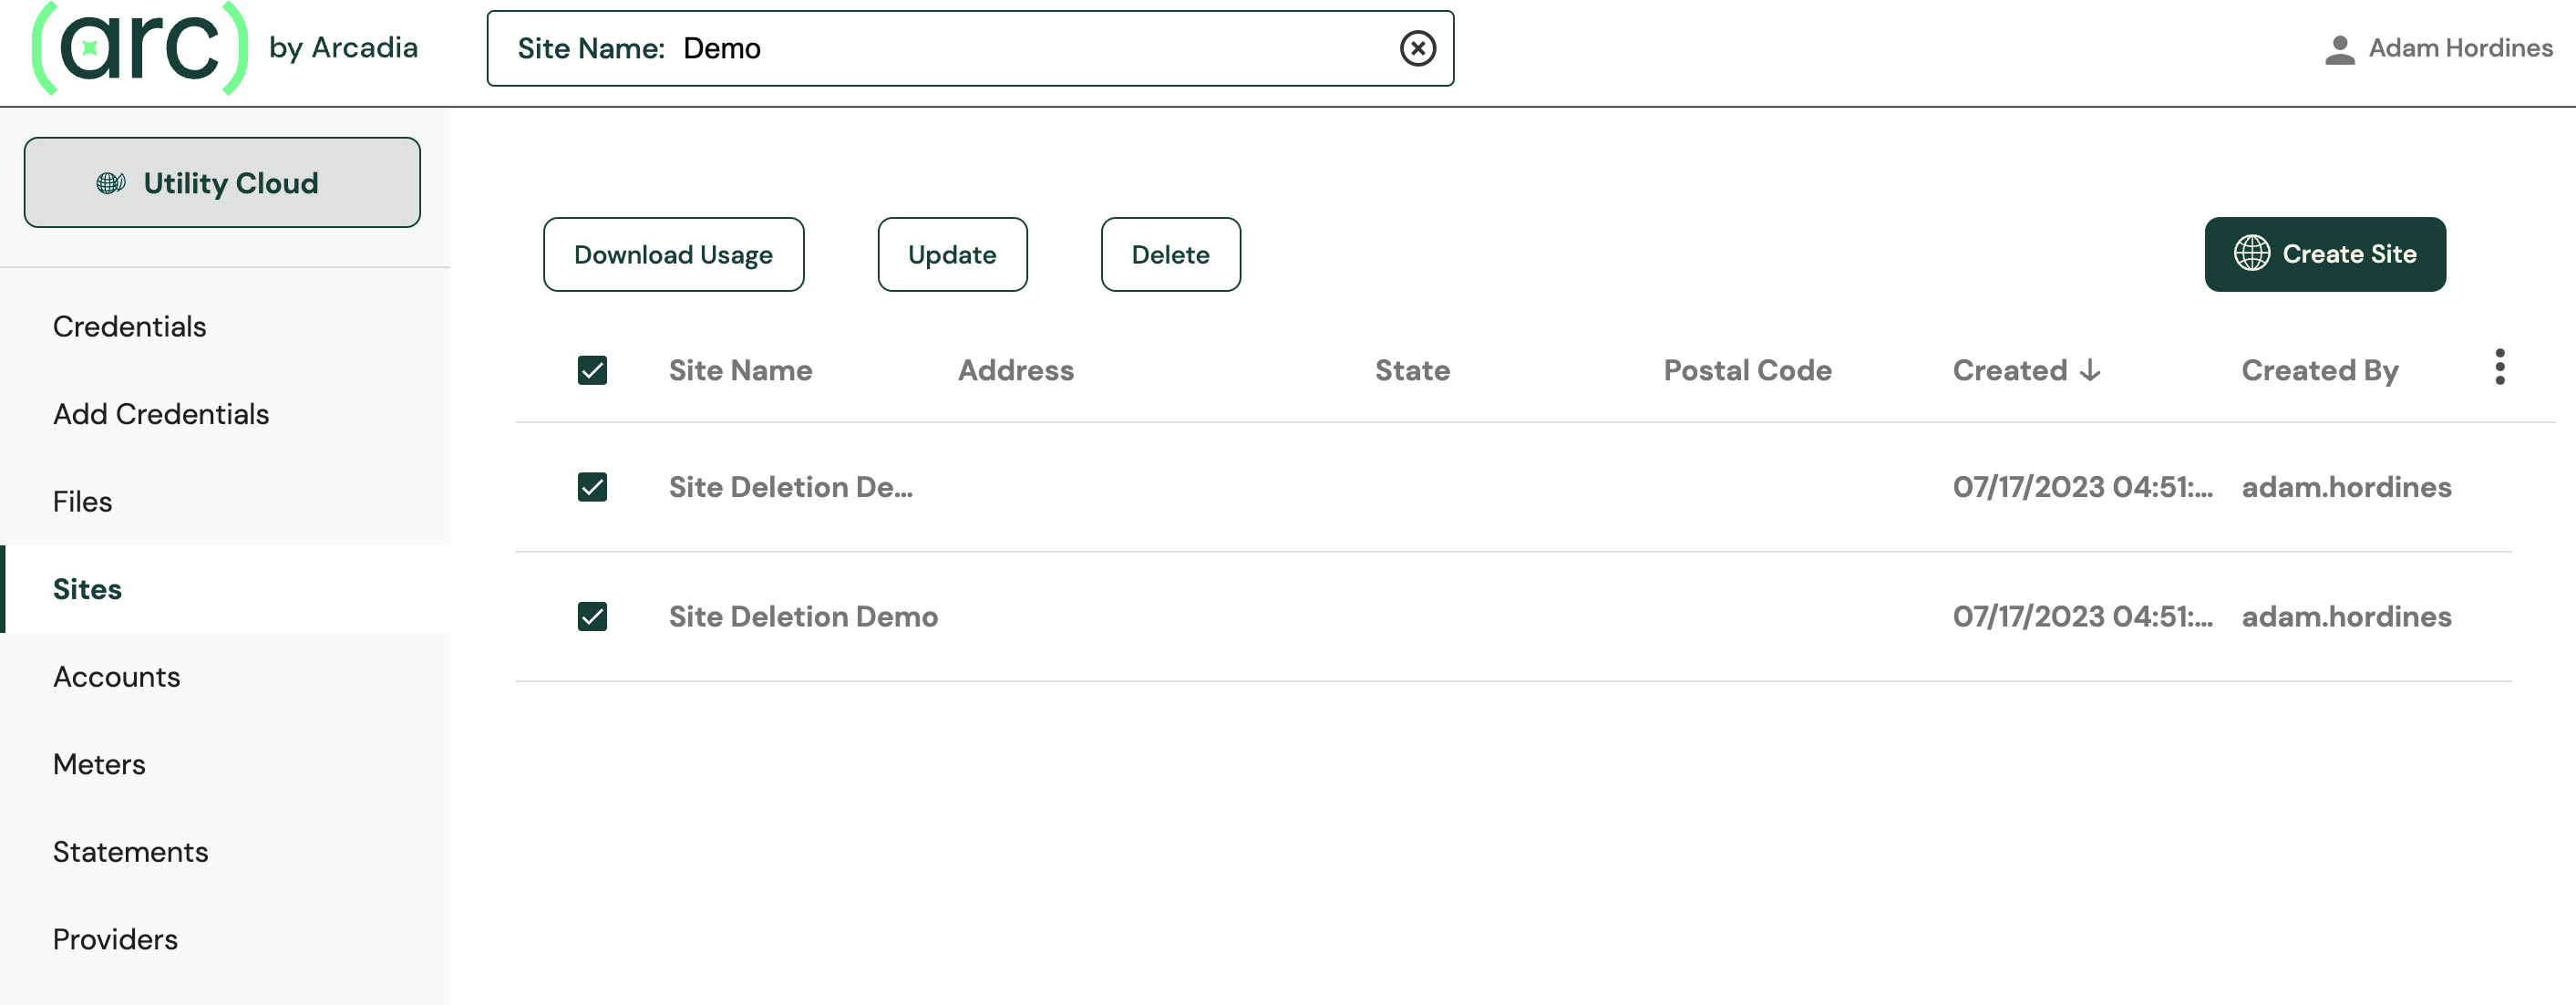
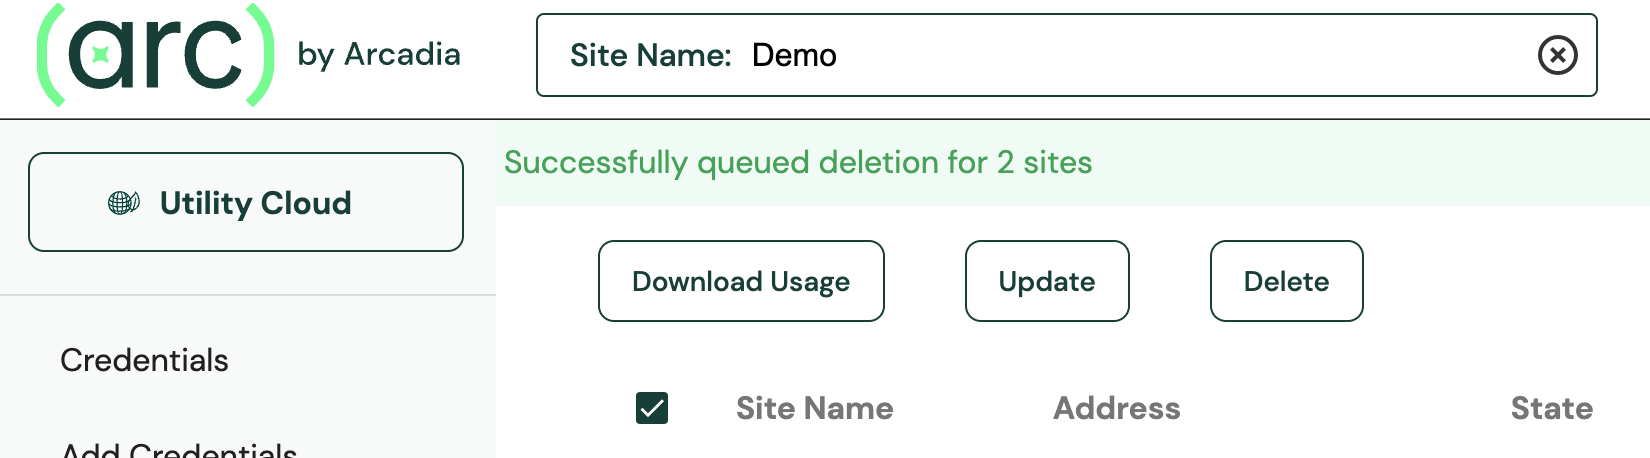
Sites can be deleted both from the sites table and from an individual site's details page. Simply select the sites you want to delete from the table via the checkbox beside each row, or visit a site's details page, and then press the delete button.
From the sites table:
From the site details page:

The delete button will open a modal prompting you for confirmation before deleting the selected sites.
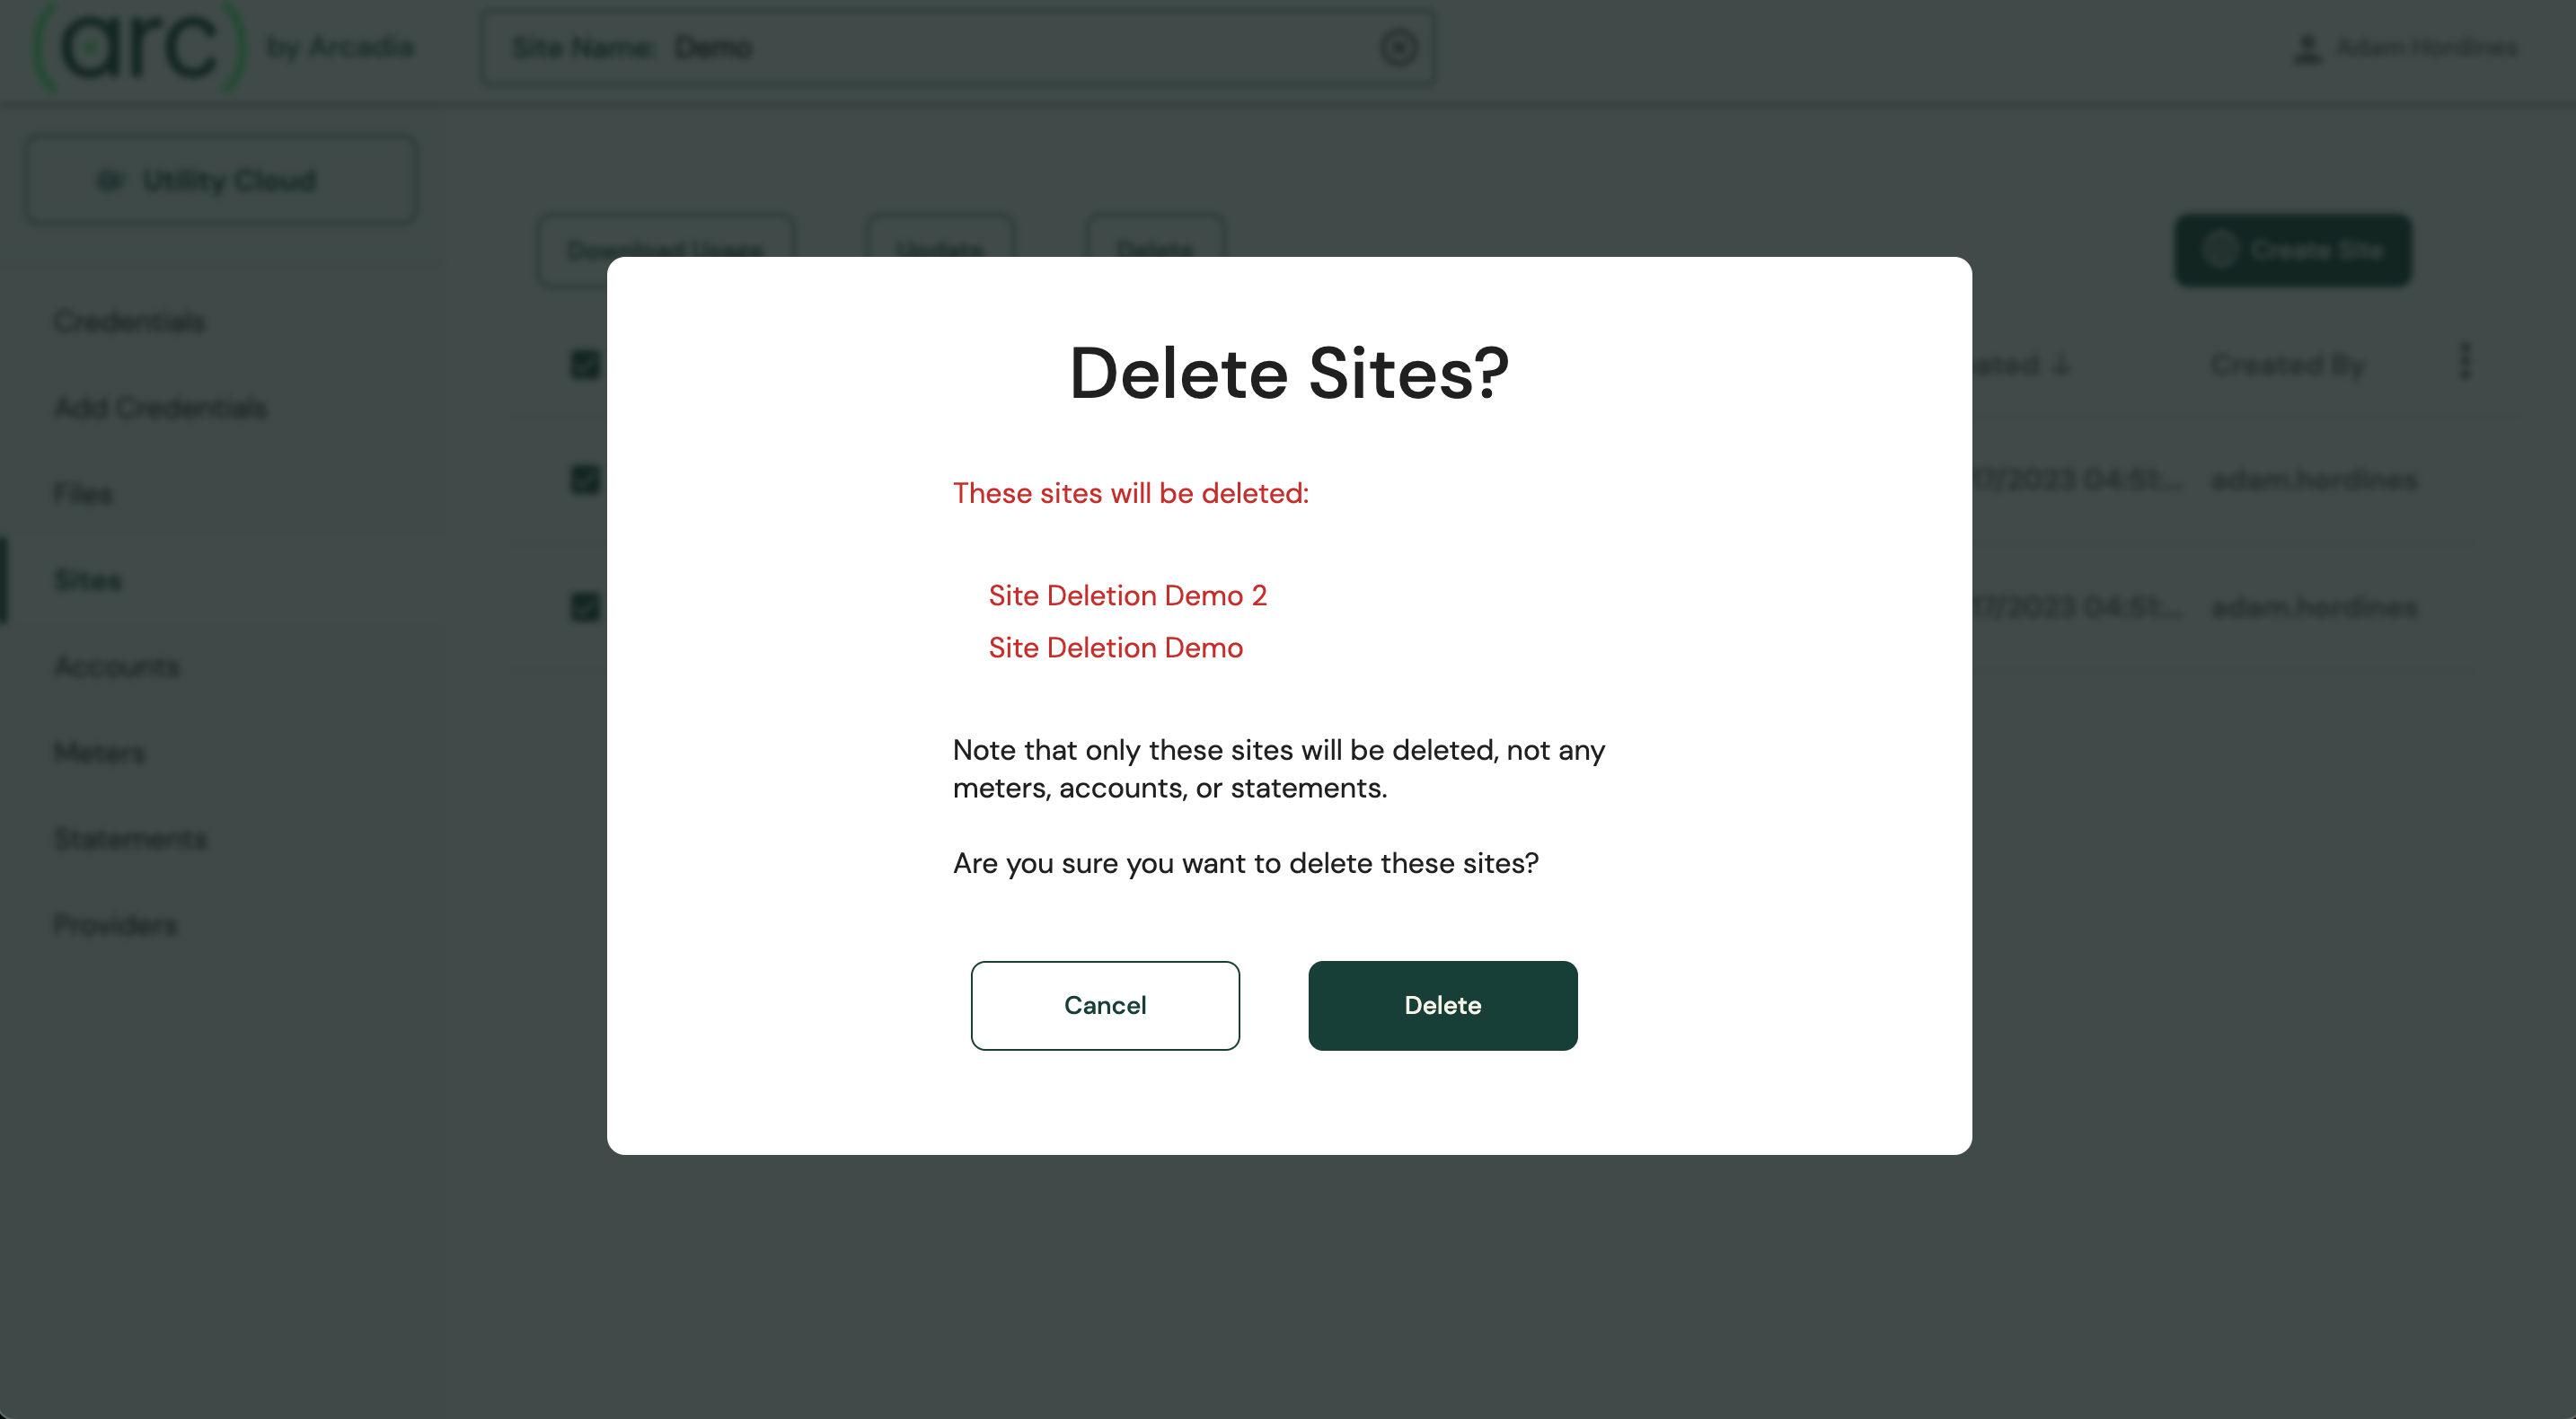
Once confirming the deletion, a banner message will show that the deletion has been scheduled successfully.
Please allow for up to 10 minutes for the effect of the site deletion to be reflected in the sites table and related entities. The site deletion happens asynchronously for performance reasons, since many records may need to be updated to remove references to the deleted site.
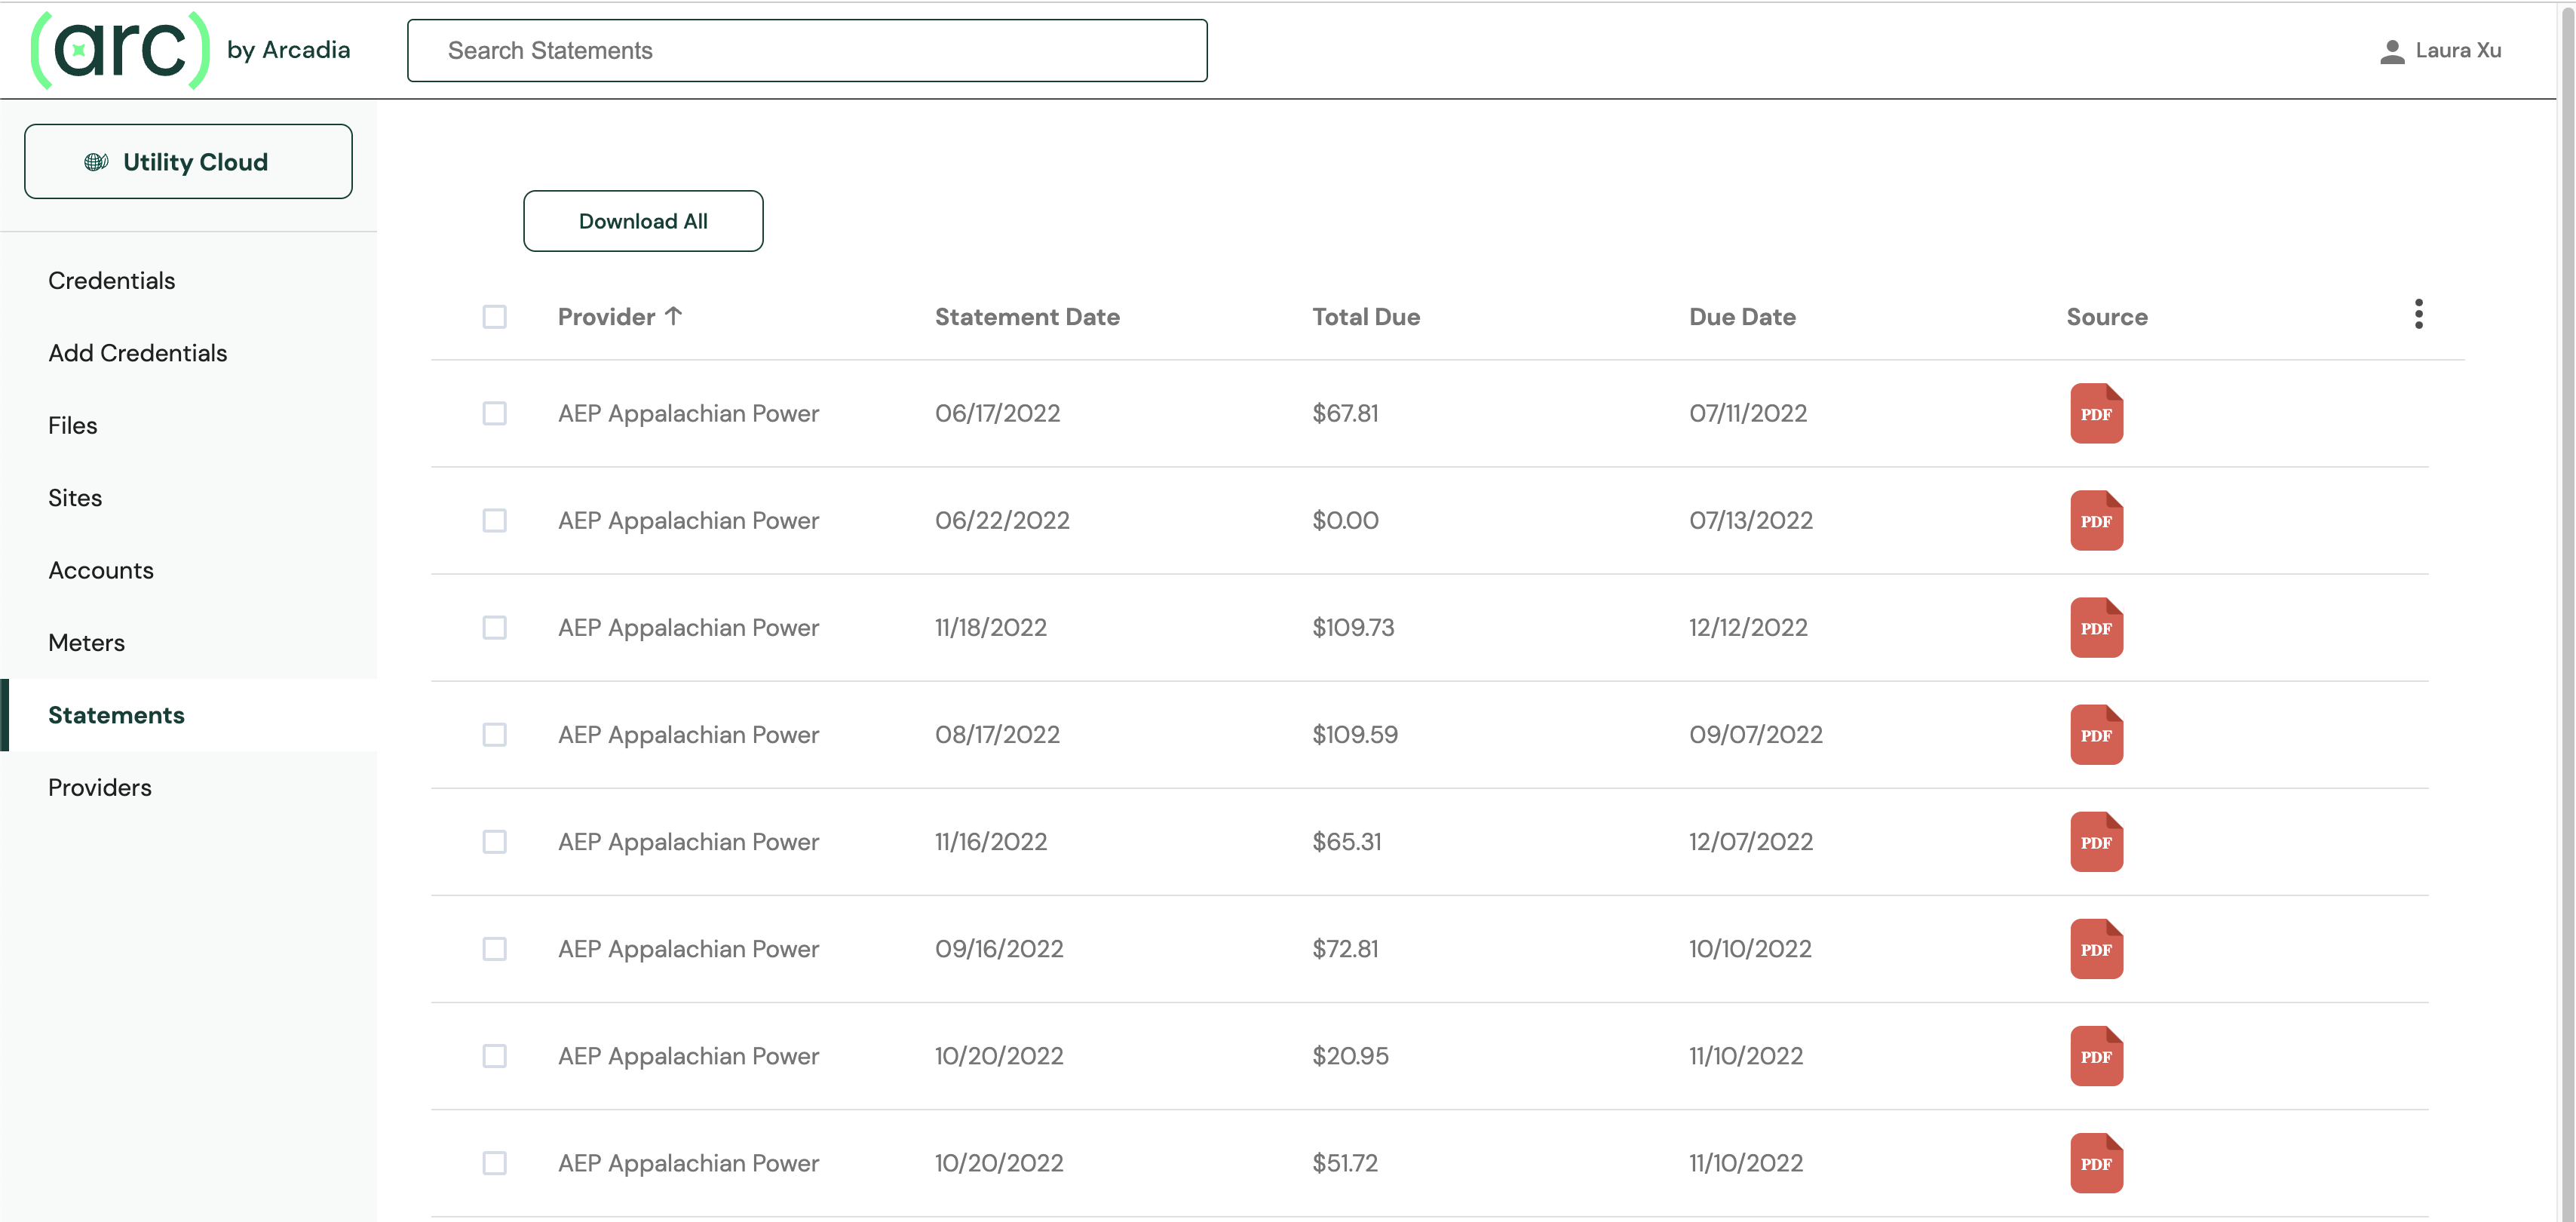
Statements
On the Statements page, you can see a list of all the invoices in the system. You can filter statements by three months, six months, nine months, one year, and year to date.
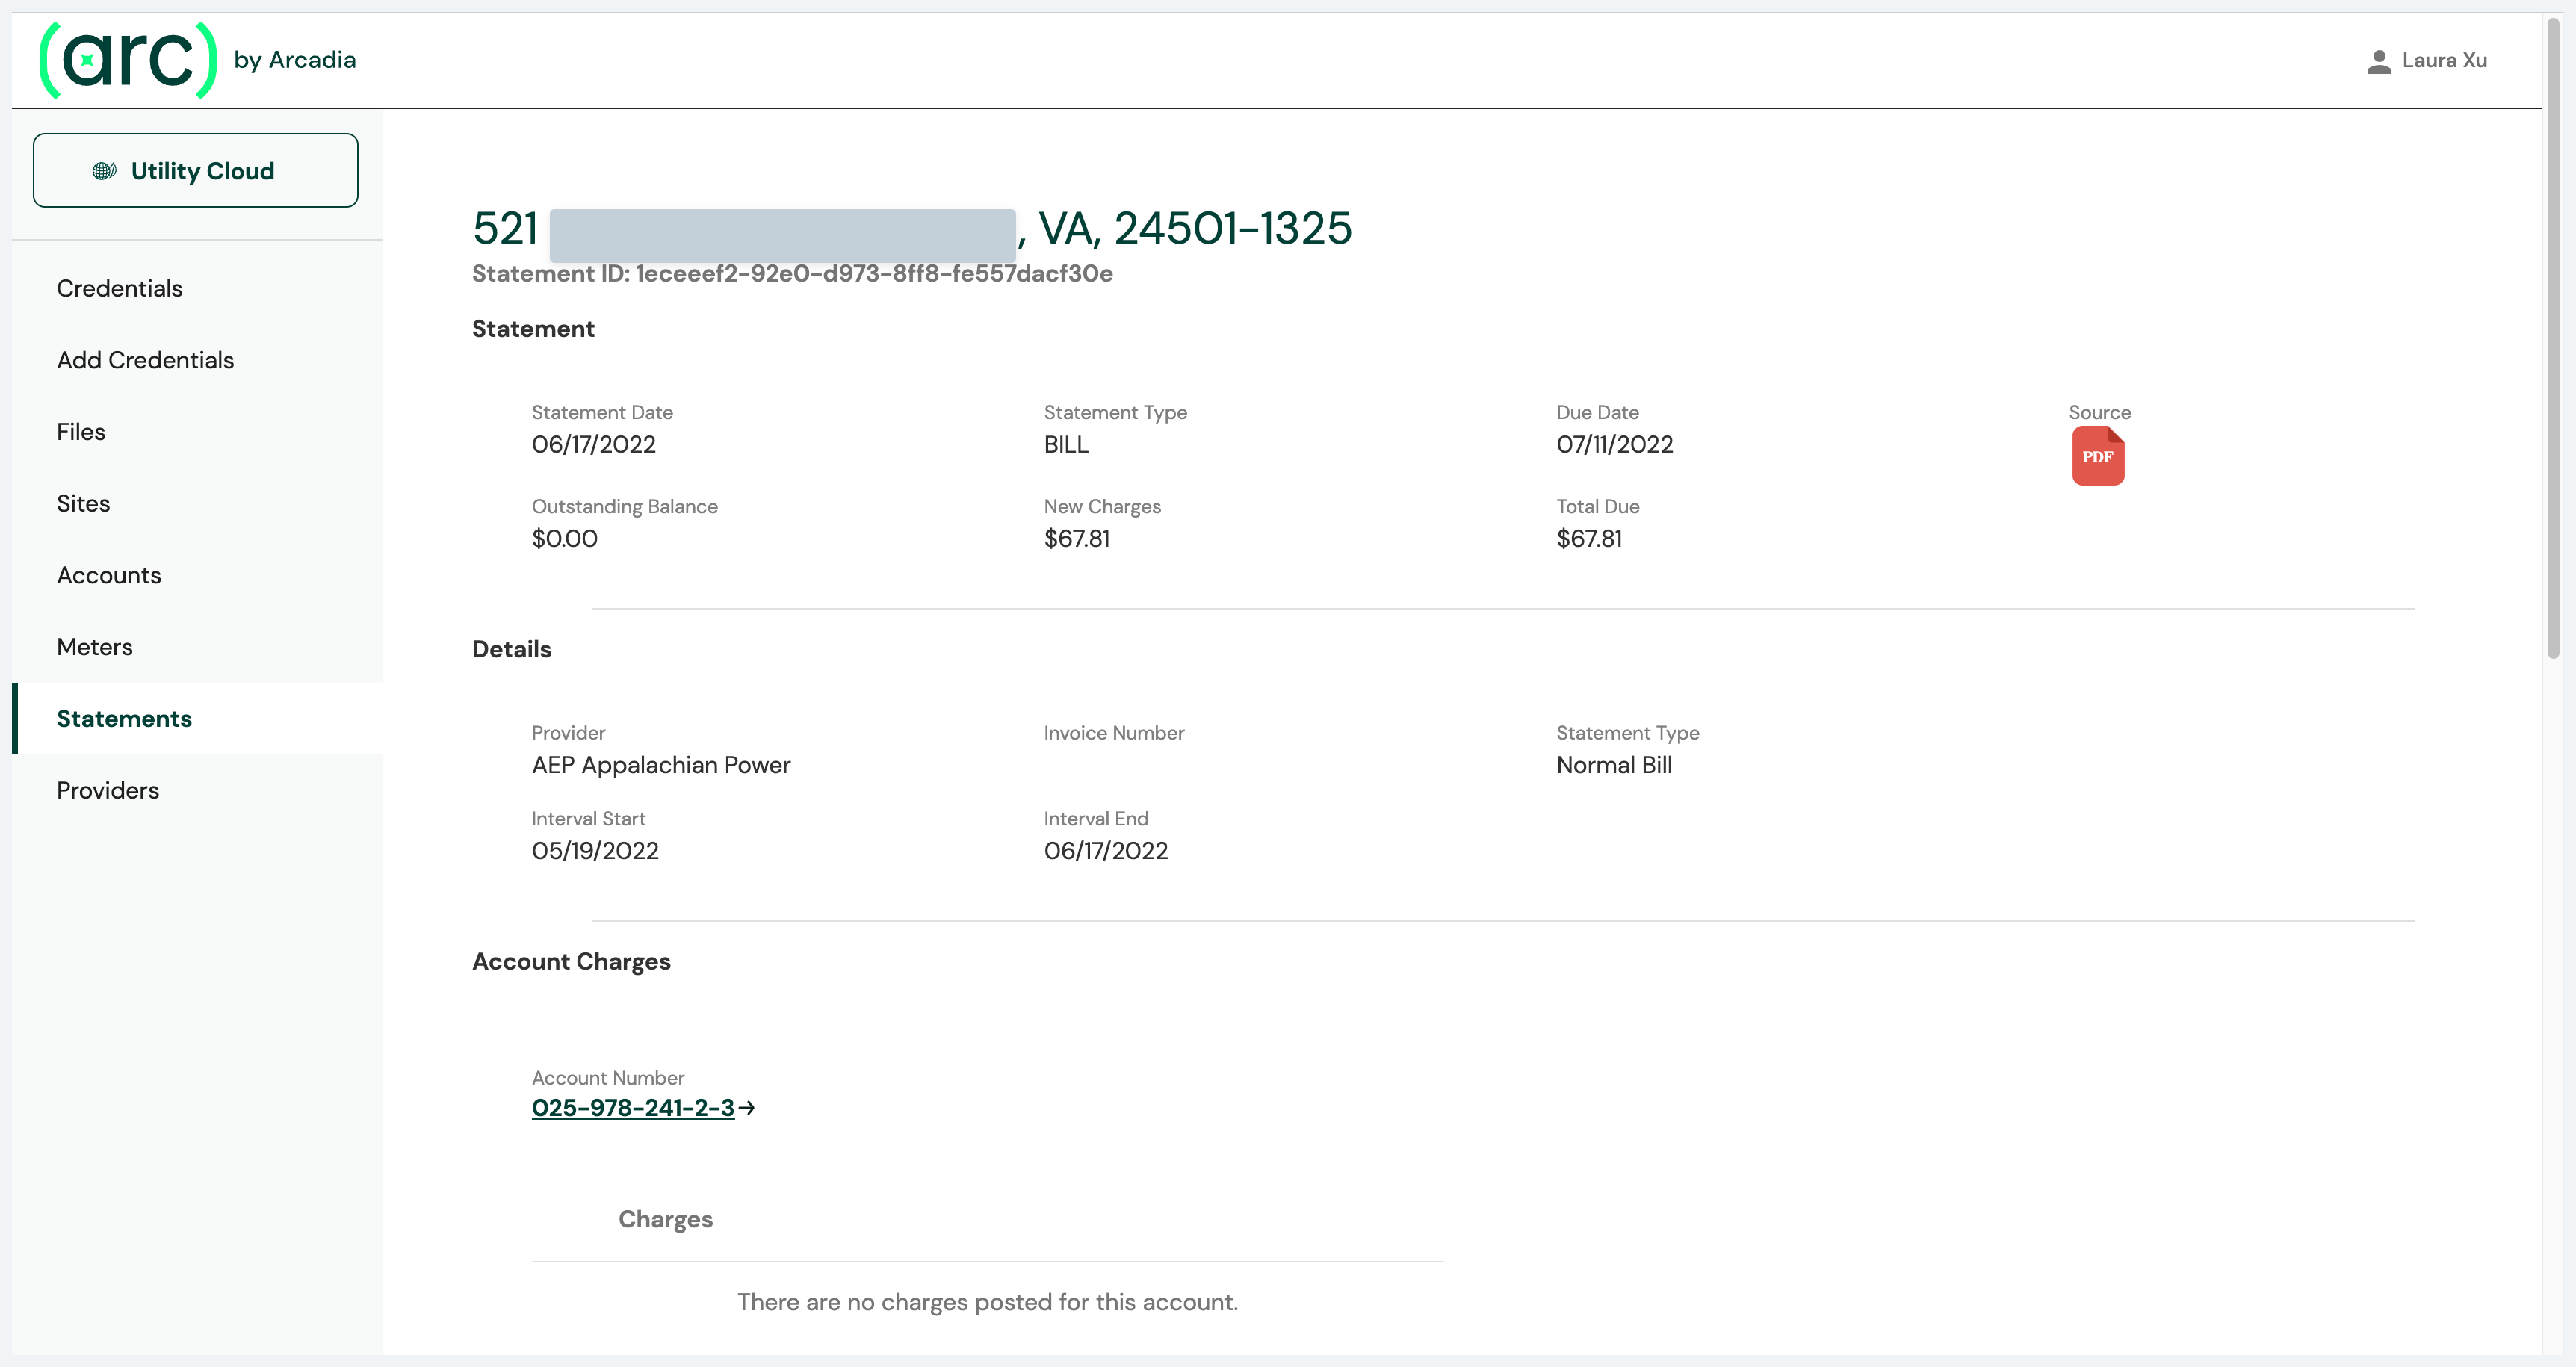
If you click on a statement row, you will view the statement's details. This page includes statement date, due date, outstanding balance, new charges, total amount due, and the statement's PDF. This page also displays the account and meter level charges and usages.
Note: only contributing charges and usages will be shown on this page. Redundant and non-contributing charges and usages will be filtered out, but available via the API.
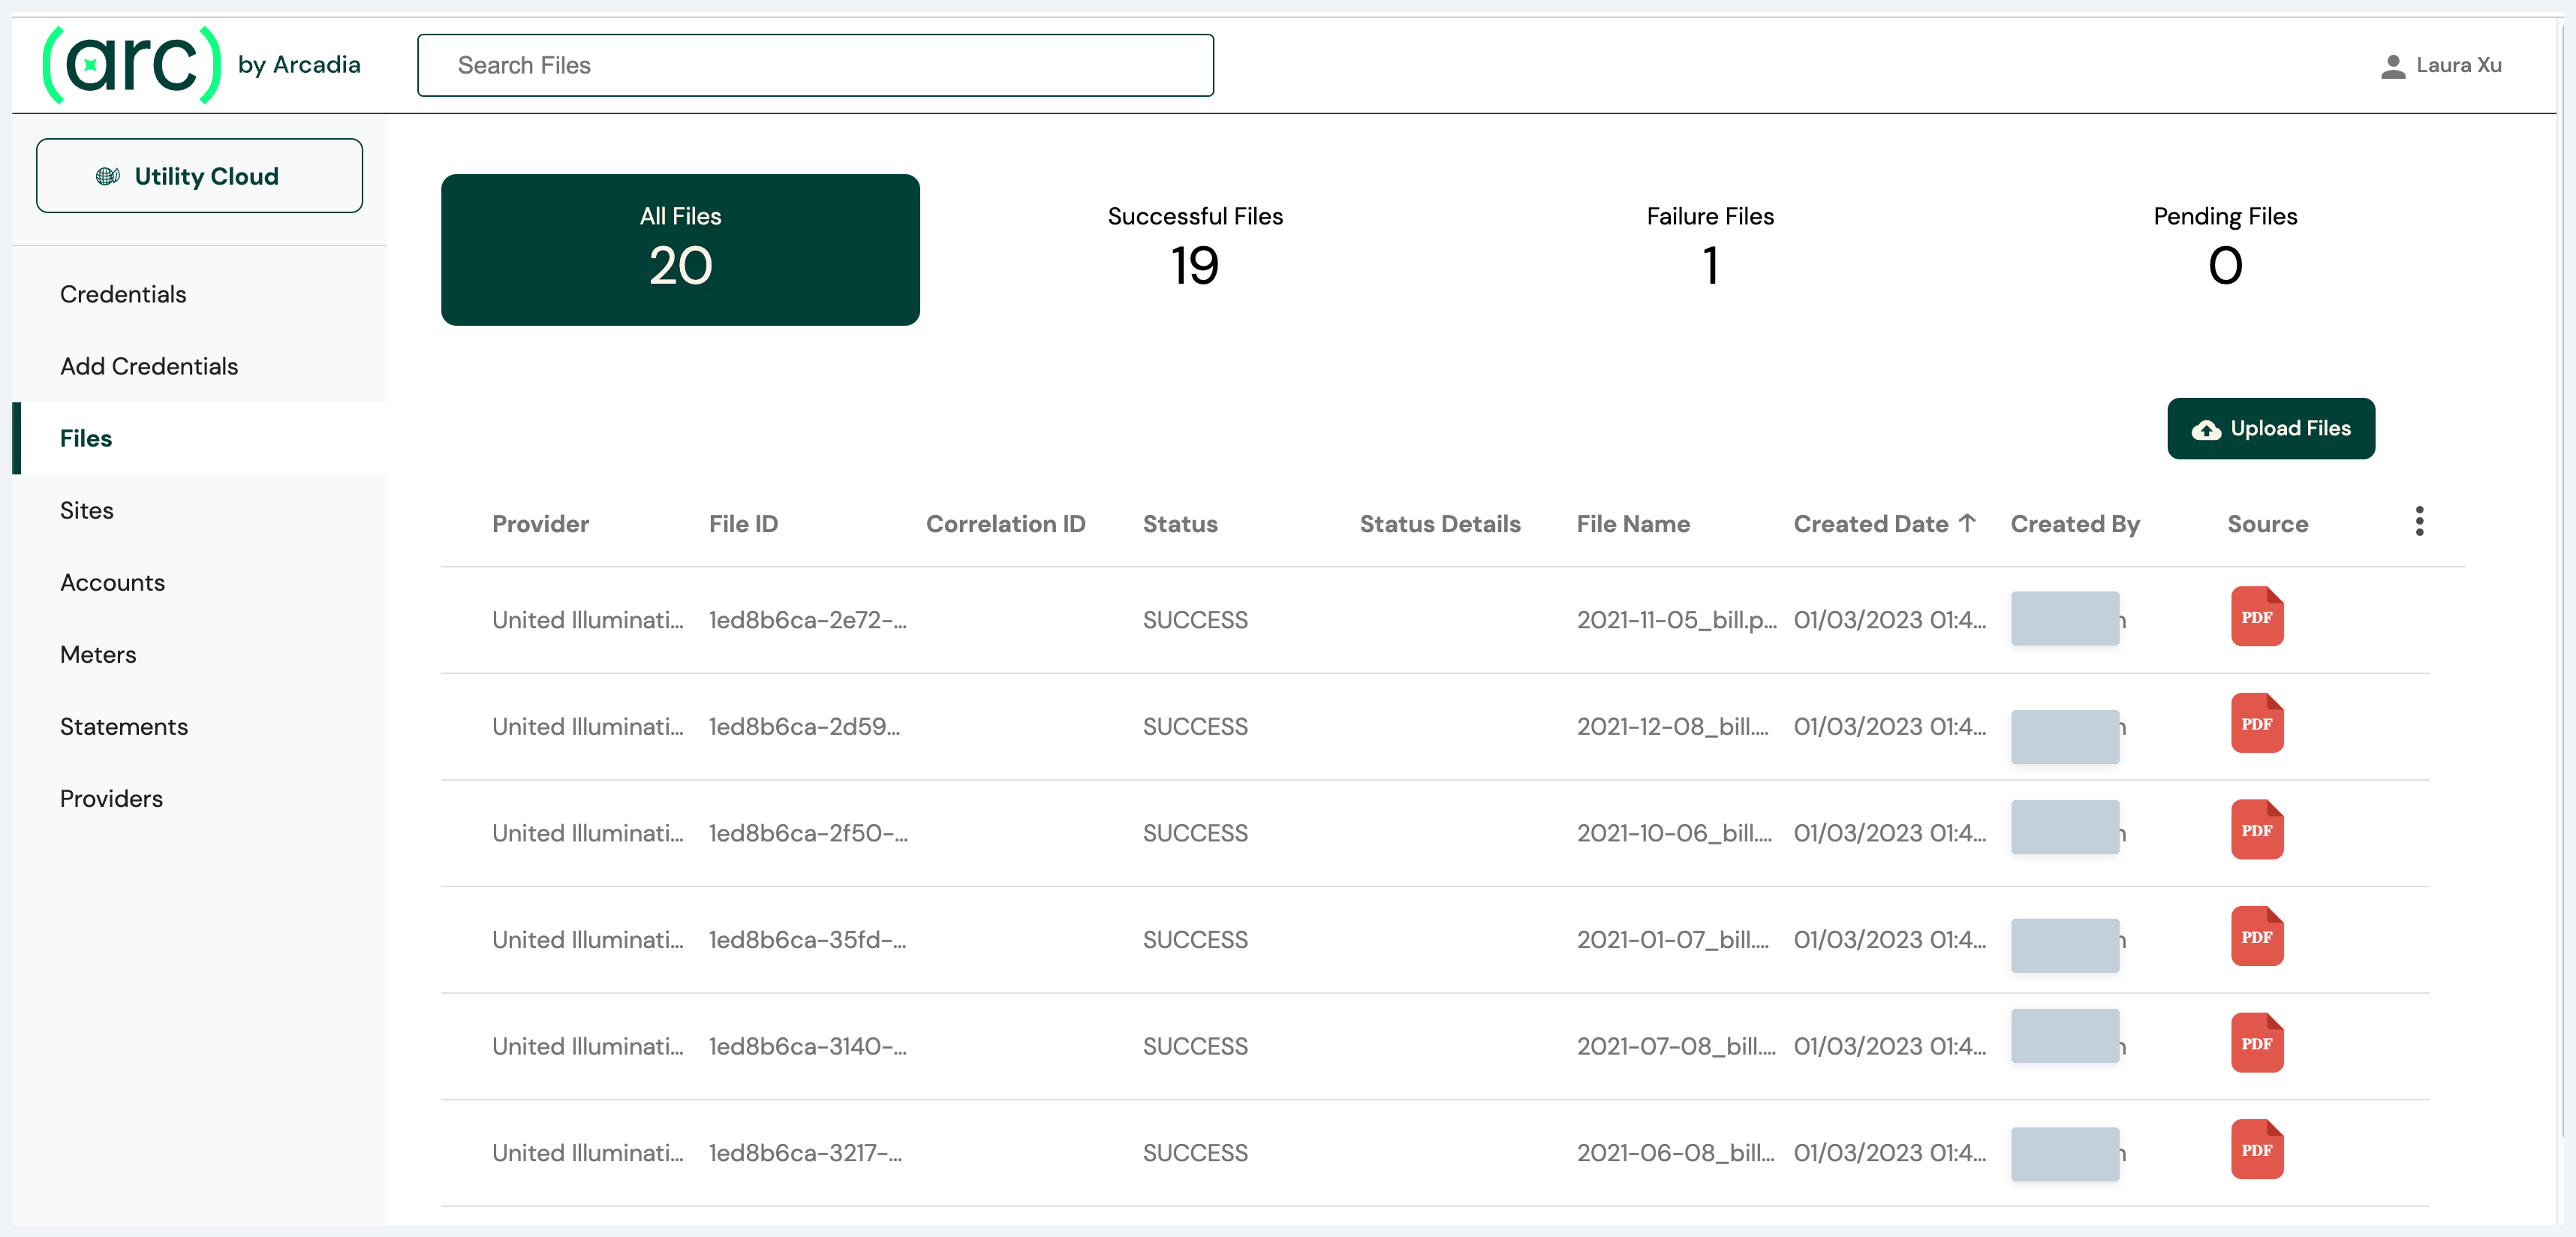
Files
On the Files page, you can see a list of files that you upload into the system. You can add files into the system by selecting the Upload Files button, and you are able to submit up to seventy five files per upload. You can filter Files by status and search by file name and utility provider's name. Once a file successfully processes, you can view the file's statement, accounts, and meters details.
Next Steps
Congrats! You've now successfully submitted a data request and downloaded utility data. To learn more, please review the Full Scope data guide and data dictionary.
Updated 12 months ago